For home cooks, particularly bakers, chucking the spoons and measuring cups for a digital scale opens up a new world of more efficient, faster cooking.
My second job ever, at the age of 16, was at Williams-Sonoma, the fanciest cookware store in my local mall. I wore a gray apron, made pumpkin quick bread for shoppers to sample, and took full advantage of my 40 percent employee discount. The very first thing I purchased was a set of stainless steel measuring cups and spoons, the ones with the units printed on the handles in an elegant sans-serif font. Somehow, I worked at Williams-Sonoma for a full year before I learned that dry measuring cups should not be used interchangeably with liquid measuring cups. Why? Because the volumes do not perfectly match. Another $10 of my hard-earned pay went toward a Pyrex glass measuring cup, the one with the red lines marking ounces, pints, and cups on the side.
Eventually, I discovered that how I measured dry ingredients mattered, too: If the flour was packed too firmly into the cup it could make my dough dry; if I didn’t level the salt in the teaspoon measure—or used a fine salt instead of a flaky version—my pie crust might turn out extra salty. I watched Martha Stewart and Julia Child measure ingredients on PBS and mimicked their motions. I struggled through years of tough pie doughs, brittle cookies, and dry cakes.
Half a dozen years later I was shopping for the tools I’d need for culinary school, and on the list was a digital scale. A few brands were recommended. I picked the least expensive one, thinking it would get me through the course, and then, when I was deemed a “real” chef, I’d buy a fancier model. There was something special about setting my scale atop the counter on day one of culinary school—it felt professional and serious. That feeling quickly faded. Soon using a digital scale became second nature, and the only way I like to bake.
Unfortunately, the rest of America doesn’t seem to agree. The great majority of cookbooks, cooking shows, and cooking websites refer to cup and spoon measures almost exclusively. I’m going to go on record and call this practice old-fashioned. As with topics like climate change, national health care, and (related to this discussion) the metric system, the United States is far behind the times when it comes to measuring in the home kitchen.
Earlier this year the Telegraph ran an article titled “Dear Americans, I’m fed up with your stupid cup measurements.” In it, the author complains of the inaccuracies that come from measuring in cups and spoons, and the mess and frustration they create—“cup measures create unnecessary havoc in my kitchen and this makes me cross”—and when she asks renowned baker and cookbook author Alice Medrich to explain this measuring system, Medrich turns on us, her fellow Americans.
“I have sometimes wondered if Americans think using a scale is some kind of Communist plot left over from the Cold War,” she tells the British paper. “I also think that U.S. home cooks used to feel that weights and scales were somehow too complicated or hard, or required math.”
Oh no, not math.
Chicago-based pastry chef Dana Cree’s new book, Hello, My Name Is Ice Cream: The Art and Science of the Scoop, provides weight measurements (in grams and milliliters) as well as cup measures. “I like scales because of course they’re much more accurate, but they also allow the baker to adjust amounts with more precision. Like if you think about the difference between a ¼ cup measure and a ⅓ cup measure,” Cree explains, “that’s a one-unit difference, because they don’t sell a cup measure that’s a fraction between those two units. But if you think about the difference between 75 grams and 115 grams, there are 40 units between them. That’s an infinite amount when you think of what you can do in terms of nuance of flavor and texture.”
Unlike dry and liquid cup measures, grams (a measure of weight) and milliliters (a measure of volume) are directly related: 1 milliliter of water, or another water-based liquid, weighs 1 gram, according to the International System of Units. For recipes that call for higher density liquids—such as a fat like olive oil—a weight (in grams) is usually given instead of a volume (in milliliters) to avoid confusion. Because the metric system is measured in multiples of 100, dividing or multiplying a recipe couldn’t be easier.
For ice cream, a few more grams of sugar can mean the difference between an icy texture or a smooth one. Too many extra milliliters of mint extract or grams of mint might mean ice cream that tastes like a Tic Tac instead of a refreshing summer treat.
Several theories attempt to explain the widespread and persistent use of cup and spoon measures. Some say they evolved out of older, even less precise measurements: a pinch of this, a handful of that. Culinary historian Linda Civitello disagrees. In her new book, Baking Powder Wars: The Cutthroat Food Fight that Revolutionized Cooking, she notes that by the 1840s, a new influx of Europeans were landing on American soil at the same time as many Americans were moving west, looking for new opportunities. “People who move, whether by wagon or ship, are not going to be carrying kitchen scales with them,” Civitello points out. “But everybody had a cup and a spoon.”
Others say liquid measuring cups evolved out of the use of gallons, quarts, and pints, which measure volume. A gallon originated in England probably around the 17th century—by a king’s decree, no less. It’s as archaic and convoluted as it sounds. It seems that Americans continue to measure instead of weigh ingredients simply because they are resistant to change, even if that change will make their lives simpler.
“Once you’ve seen the light, you can’t go back,” says pastry chef and baker Roxana Jullapat of L.A.’s Friends and Family, a casual all-day café with a bakery case full of rye chocolate chip cookies and sticky toffee puddings. The chef’s sweet breads are airy and tender; her croissants are flaky and light with a web of delicate crevices hidden inside. “I’ve baked all my life, since I was six years old, and using a scale is the only way to get consistent results,” Jullapat continues. “I think Americans feel there’s something easy about thinking that if you measure one cup of this and one cup of that, voilà! You’ll have a batter.”
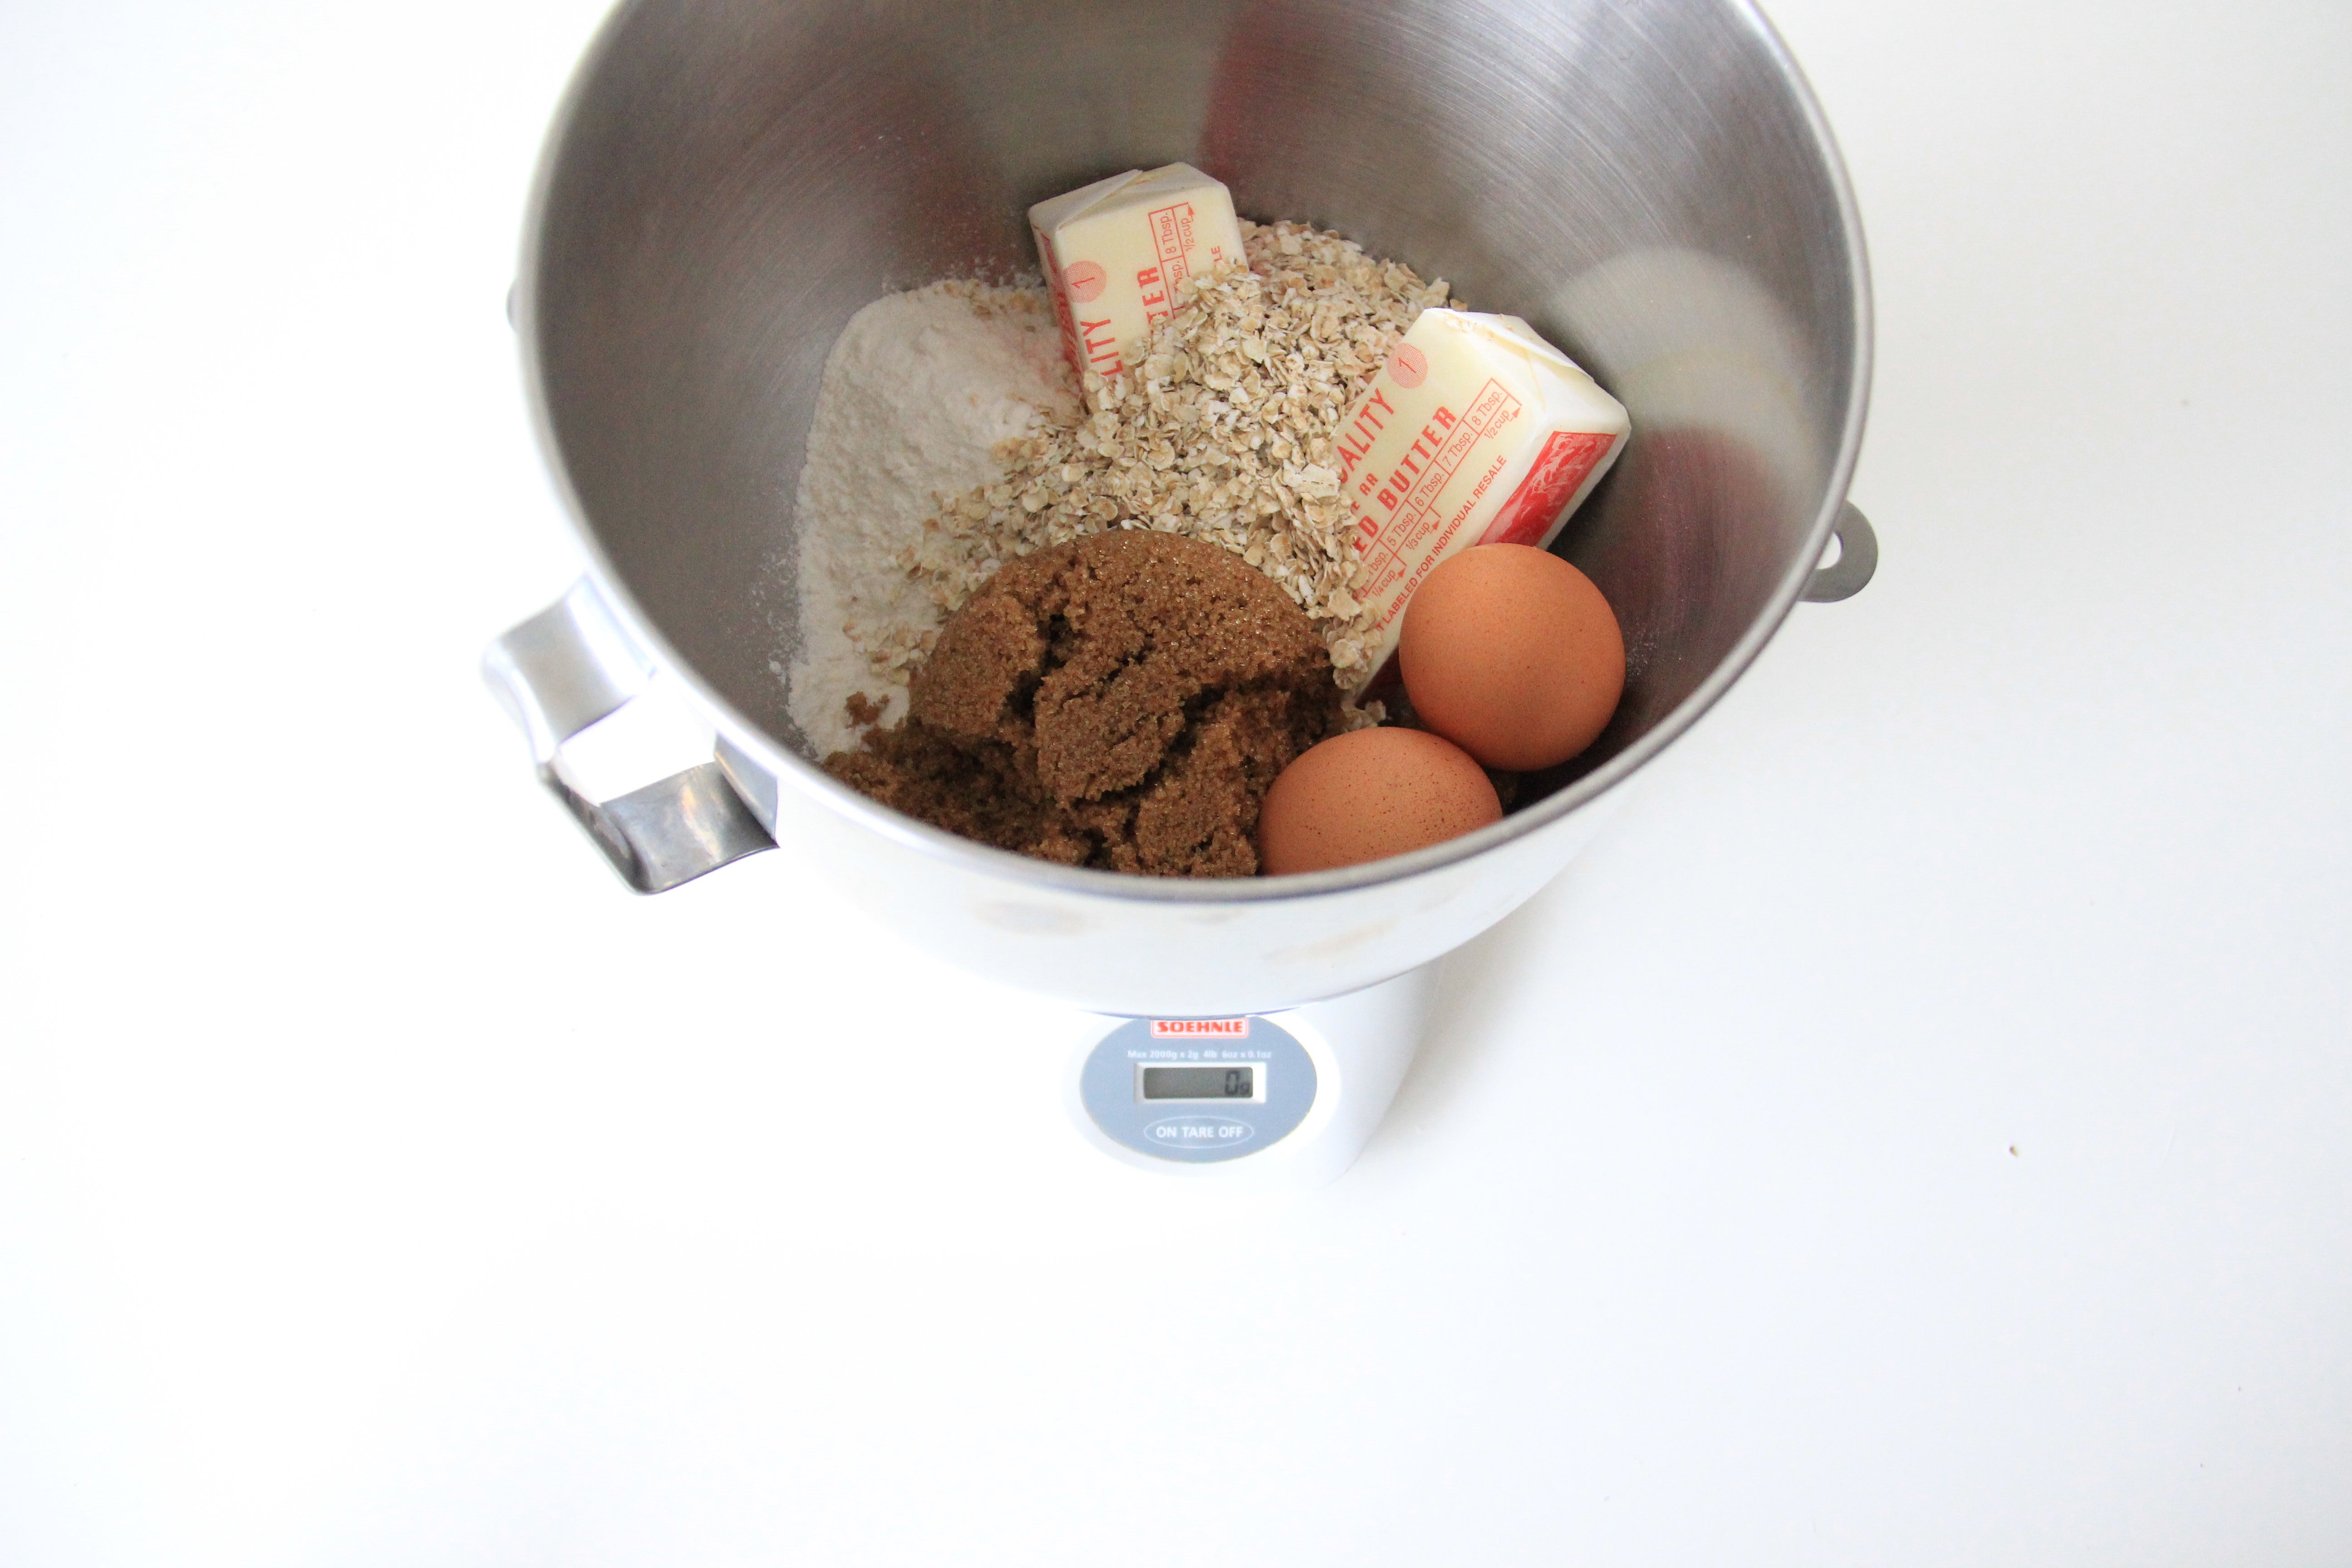
When measuring ingredients using a digital scale, there’s no scooping and leveling of flour; there’s no filling a liquid measuring cup and then crouching down so you’re eye level with the cup to see if the liquid is even. You place everything into a bowl that sits atop your scale, pressing a button after each ingredient is added to zero out the weight before adding another ingredient. There are numbers, but there’s virtually no math.
Here’s how using a scale to measure a recipe for shortbread cookies works: Turn the scale on. Set it to ounces or grams, depending upon the recipe. Set a mixing bowl atop the scale. Press the tare button to bring the scale back to zero. Measure the butter and sugar into the scale. Take the bowl off the scale, and cream the butter into the sugar until it is light and fluffy. Put the bowl back onto the scale, press the tare button, and add the flour and salt. Remove the bowl from the scale. Mix in the flour and salt until combined. Shape and bake cookies according to the recipe.
If you use cup measures for this same recipe, it will require at least three extra steps, and you will dirty at least five extra dishes. Additionally, you leave yourself open to a greater margin for error. Did you aerate your dry ingredients before measuring? Are you scooping or spooning—and then leveling? This is admittedly one of the easiest recipes a home baker could make, but what if you’re doing something more advanced? When people tell me they can’t bake, I ask if they’ve tried using a digital scale. Yes, it’s easier and makes for fewer dishes, but it also just might save your baking life. Maybe you are a baker, but your recipes haven’t been turning out properly because you’ve been using a system of measurement that was in vogue when Grover Cleveland was president.
“If you’re doing anything tricky, like candy or meringue, and you’re using cup measures, you’re doing it wrong,” says Jullapat. Fortunately, word is spreading, and home cooks are, as Jullapat says, “seeing the light.”
“I started using a digital scale after years of seeing them mentioned by food bloggers I respected, like Deb Perelman of Smitten Kitchen,” says Candice Pillion, a home cook and nutritional coach based in Southern California. Pillion says seeing her ingredients on the scale helps her visualize amounts as she cooks and bakes, making her a more confident cook and baker. “I’ve since become that jerk who proselytizes about using a digital scale to all my friends.”
Pillion says she “insists” that her clients use a scale while on a meal plan because it provides an “objective perspective on serving sizes.” Her digital scale of choice? “A model I picked up at Marshall’s for $11. I use it multiple times a day.”
Luckily for home cooks, kitchen digital scale technology happens to be fairly accurate across the board. Unfortunately, the great majority of American recipes are still written for cups and spoons. There’s no way to escape this, though it’s something to watch out for when buying a new cookbook, particularly a new baking book: Take a peek inside to see if the author offers both units of measurement or only the one that may trip you up.
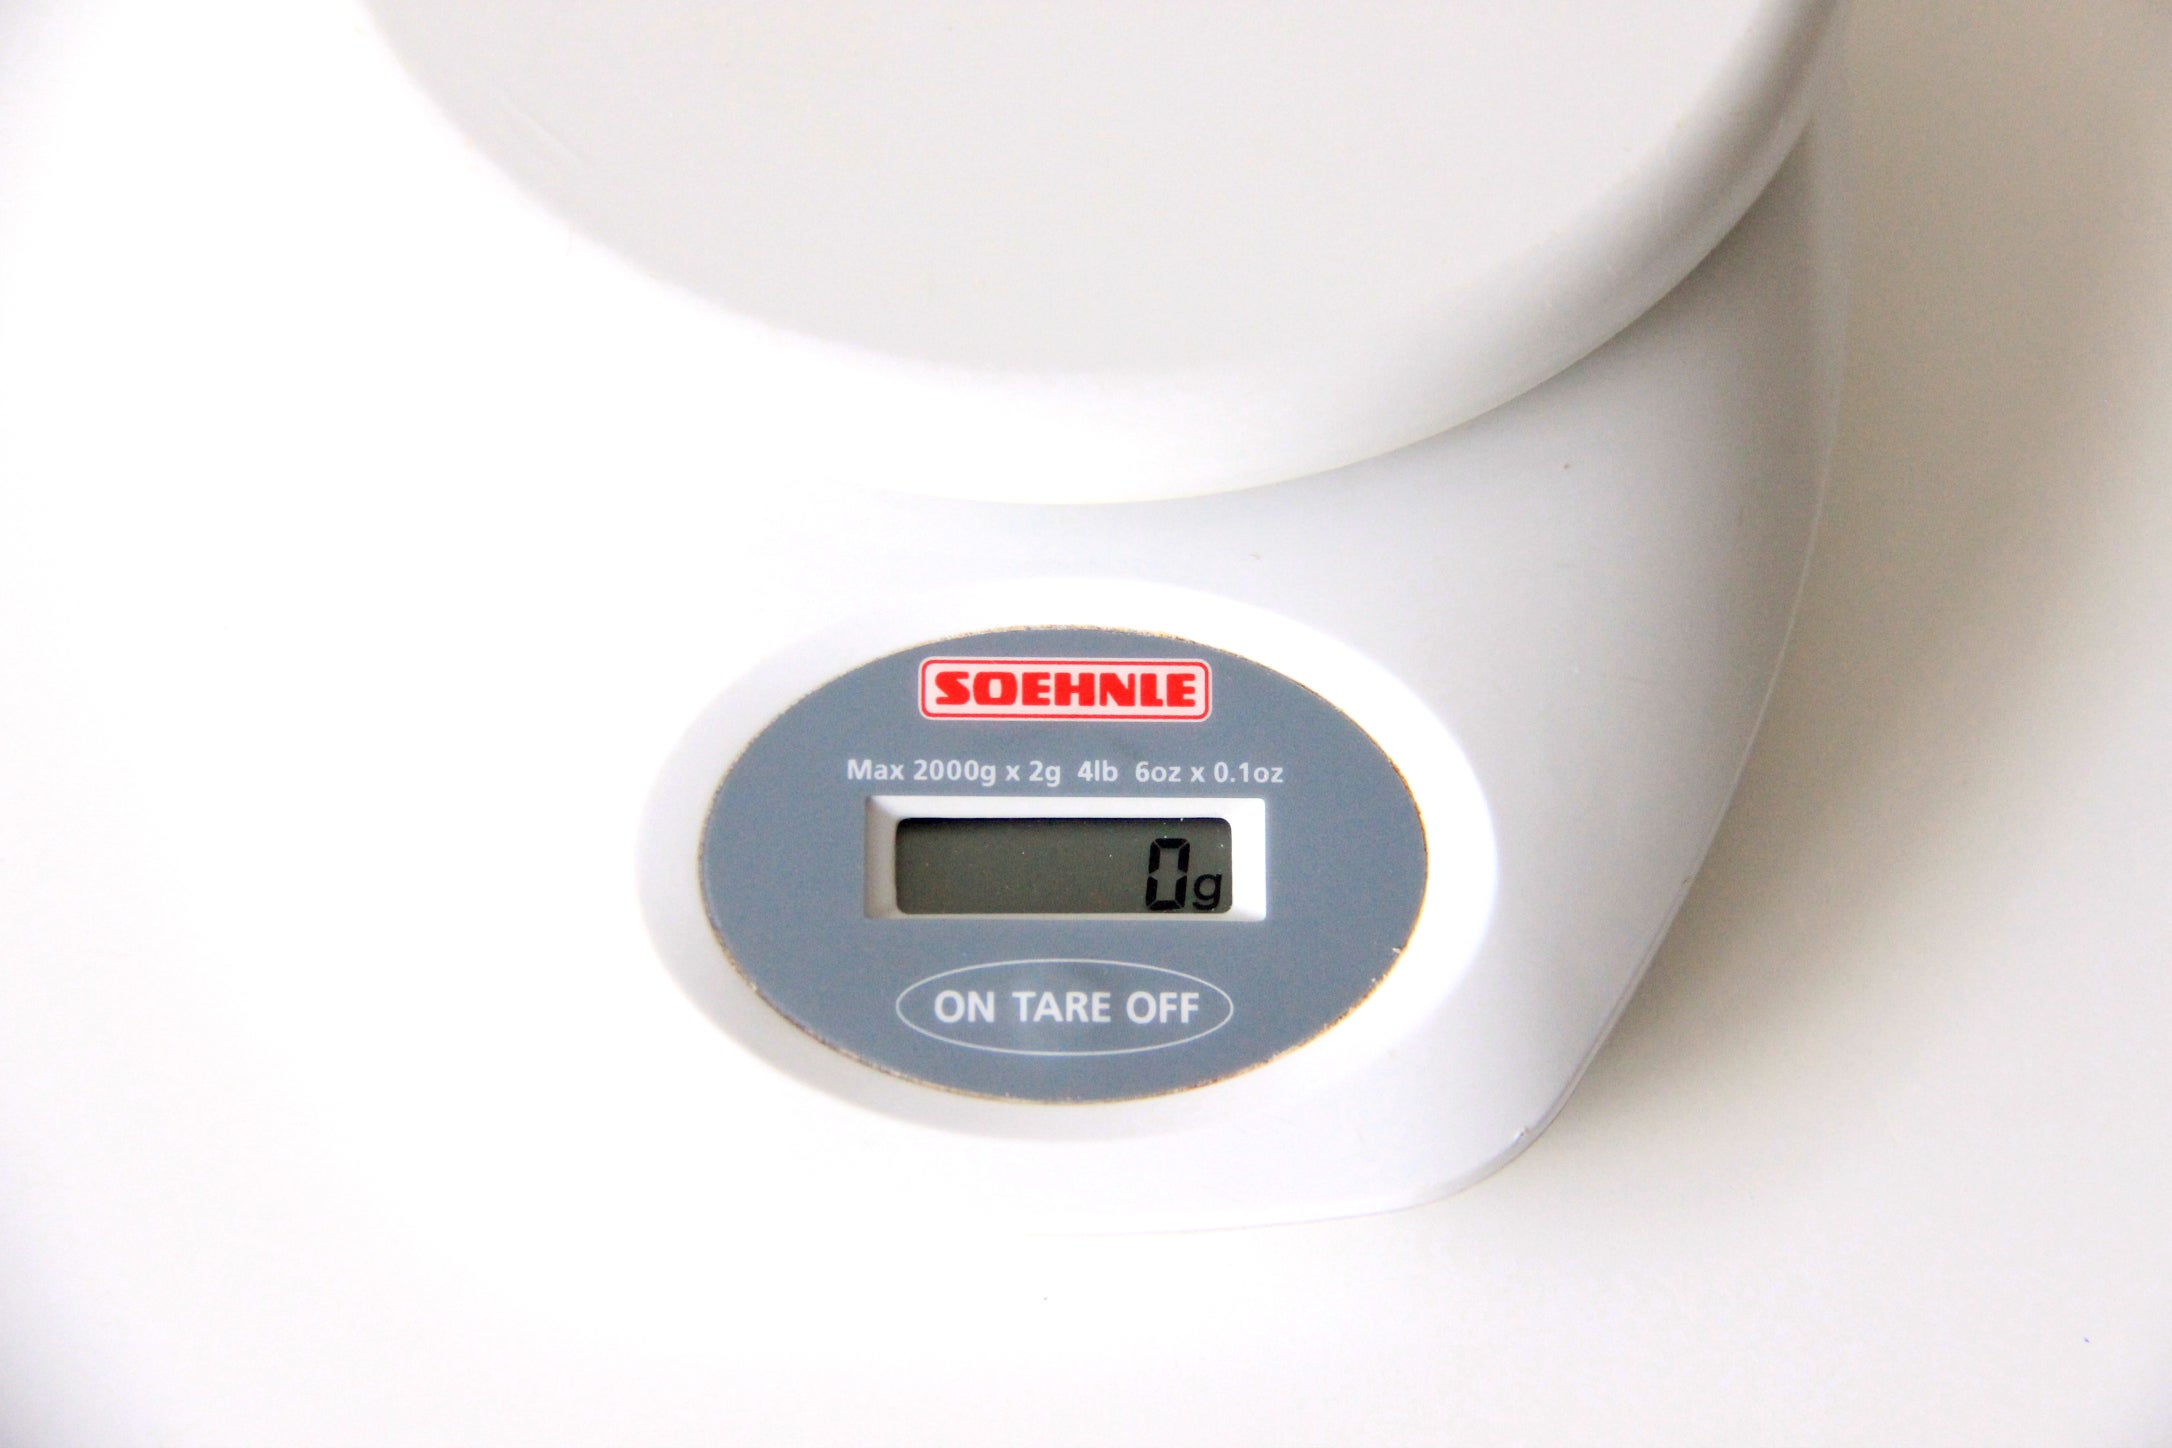
As it turns out, I still have my trusty $25 Soehnle scale well over a decade after I bought it for culinary school. It’s small and light, and it has never failed me. The company has since updated this version, but it’s been around the world with me: I’ve tossed it in luggage on the way to Paris and Dusseldorf and hauled it aboard a yacht off the shore of Cancún. It has held up in fast-paced New York City restaurant kitchens. It’s definitely gotten wet. I can’t tell you how many times I’ve dropped it. Somehow, I’ve only had to change its battery once. And it costs less than that nice Williams-Sonoma set of measuring cups and spoons.