Our recipes and stories, delivered.

August 18, 2016
A Well-Seasoned Cast Iron for a Perfect Sear, and a Better Family Story
Home Cooked_Cast Iron_172_by Erin Kunkel

Sous vide machines, induction ovens, pressure cookers—technological gadgetry can be great, but for many chefs, there’s nothing like classic, lo-fi cast iron.

If you want a perfect sear, turn to cast iron. If you want to bake tender sticky buns, turn to cast iron—it can tackle just about anything. Its ability to absorb and retain heat makes it an all-around kitchen workhorse, but the fact that it can last generations makes it beloved.

“It’s one of the best pieces of cooking equipment you can have,” says chef and cast-iron collector Joseph “JJ” Johnson of Minton’s in Harlem. “Cast-iron pans aren’t getting made at a rapid pace…we’re not seeing them on shelves in stores. When you ask someone, ‘Where did you get that?’ it’s usually ‘From my grandmother.’”

That wasn’t always the case, though, says Charlotte Druckman, the author of Stir, Sizzle, Bake: Recipes for Your Cast-Iron Skillet. During the first half of the 20th century, cast iron was “big business” in the U.S. (before steel usurped it), on par with the denim and auto industries; the largest manufacturers were Wagner, Griswold, and Lodge. In fact, Druckman used a new $15 Lodge skillet to test many recipes in her book. 

Personally, however, Druckman says she favors older, vintage skillets—which she seeks out on Etsy—because they’re worn in and have a great patina, boasting a smoother finish than modern cast iron. “The models aren’t sanded down the same, and they’re preseasoned, so they have a sort of slightly gravelly texture,” she says. (She’s referring to the continuous oiling of vintage skillets, which is done in order to build up a layer of polymerized fat that’s water repellent and protects the pan from both rust and food sticking to it.)

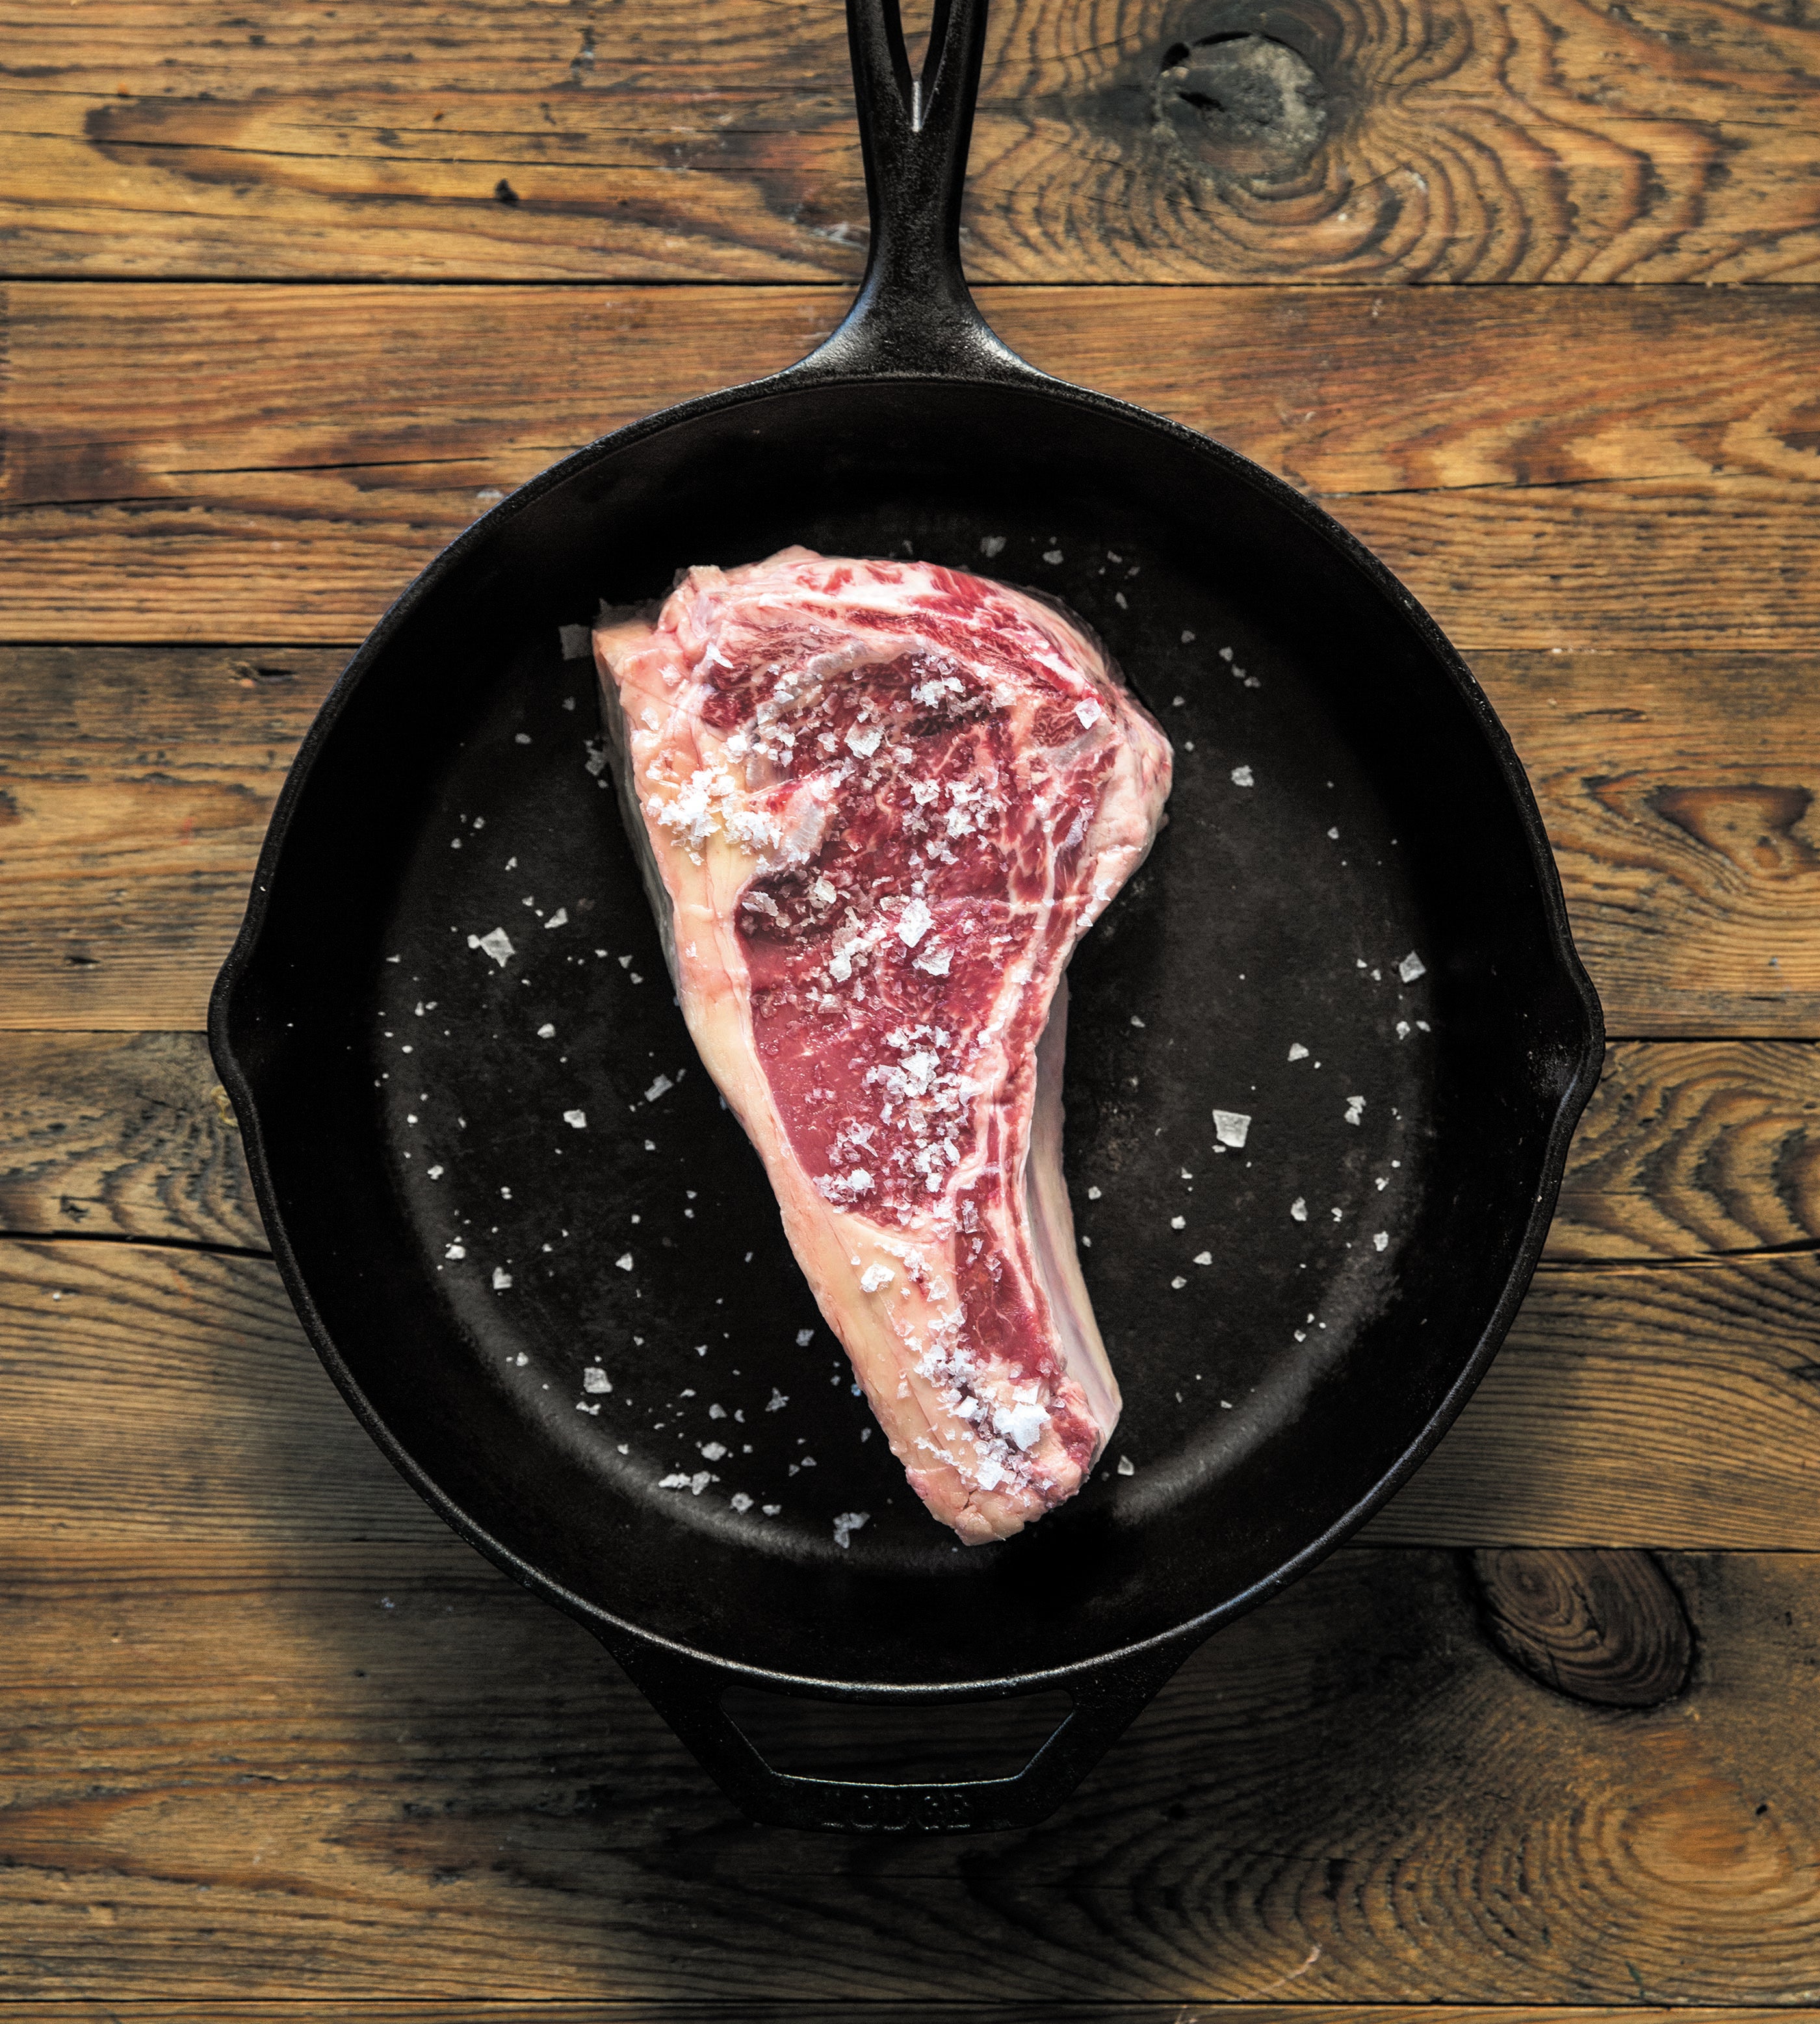
Johnson also searches for the more durable antique pieces when he goes to Vermont or upstate New York. He’s had a pan for 10 years that he’s incredibly attached to, despite his girlfriend’s skepticism. “She laughed at me and brought out her stainless steel,” he says, adding that he refused to give in. “I bought it new, seasoned it myself, and don’t scrub it. I’ve cooked a lot of great meals in that pan and set off the fire alarm in my building a lot.” Johnson says he cooks all of the fish at his restaurant in it, as well as cornbread and banana bread.

Chef JJ Johnson

Chef JJ Johnson uses cast iron for cooking fish and baking bread. Photo: Gabi Porter

Last year, The New York Times ran a story by Julia Moskin headlined “Fashioning Cast Iron Pans for Today’s Cooks,” which described the trend thusly: “Well-seasoned cast-iron pans are the new broken-in jeans: proof of both good taste and hard use.”

Anya Fernald, a sustainable-food expert and author of Home Cooked, agrees, saying there’s been a quiet renaissance of cast iron because it’s a forgiving way to cook and reflects the stripped-down way of cooking many chefs are returning to. “It’s simple, heavy, handmade stuff,” she says. “We’re nostalgic for that kind of simplicity after years of being marketed layers and layers of different metals in our fancy, new engineered pans.”

Her favorite cast-iron piece is a vintage chicken-fryer pan that she found at an antique shop. It’s small and deep, with tall sides that help keep spattering to a minimum. “I love that there used to be a pot just for frying chicken, and in lard no less. There were a lot of downsides to life in the 1930s compared to now—that’s not one of them.”

Irvin Lin, author of Eat the Love: Sweets for the Mouth & Mind, is crazy about cast iron, too. He bought his first pan in college and has hauled it around the country with him for the last 20 years. He christened the pan by making cornbread and has since used it to perfect signature desserts such as pluot cardamom upside-down cake and apple blackberry tarte tatin. “It’s well seasoned and just gets better and better with age. I can’t imagine ever giving it up. It’s an integral part of my kitchen,” he says.

But perhaps the best story belongs to Genevieve Ko, author of Better Baking: Wholesome Ingredients, Delicious Desserts, who received her first cast-iron piece as a wedding present: an eight-inch, flame-colored Le Creuset enameled cast-iron skillet. “After our wedding and honeymoon, my husband and I spent a fun day opening our gifts, including this heavy little box with the skillet. I fell in love with it right away, but we couldn’t figure out who sent it. We hadn’t registered for it because it seemed like such an extravagance, and there was no note or receipt,” she says. The company couldn’t track down the sender and suggested the couple keep it. “I’m so glad we did. It’s my daily workhorse. But it’s also a reminder of a magical time, when we were crammed into our tiny first apartment, feeling so loved by all the family and friends who celebrated our wedding with us,” Ko says, before adding: “The surface takes on a patina that seems to reflect the memories of breakfast eggs and steak dinners and blueberry crisps. Maybe I’m getting too sentimental, but that’s how I feel about my little pan. It took me from my honeymoon to two babies, then three. Now they’re almost in high school!”

Ingredients

  • 16 ounces rib eye steak
  • 0.5 teaspoon salt
  • 0.5 teaspoon chile powder
  • 1 teaspoon cilantro
  • vegetable oil
  • 1 black pepper
  • For the Mustard Butter
  • 2 tablespoons unsalted butter
  • 2 teaspoons mustard
  • 1 teaspoon Dijon mustard

To make this bistro classic in my kitchen, I use a cast-iron skillet or grill pan that I get really hot, and then I sear the steak on both sides, cooking it medium-rare, which is the way I like it. My preferred cut is entrecôte, or rib eye, and I ask the butcher to cut it into steaks that aren’t too thick since I like lots of surface area on my steaks. I rub them with chipotle chile powder to give them a bit of a smoky flavor. It’s difficult to say exactly how long it will take a particular steak to cook to your liking since there are so many variables, but there is actually no truth to the rumor that if you cut a steak open a little and peek inside, all the juices will come gushing out and your steak will be dry. In fact, the best way to ensure a steak is dry is to overcook it. So feel free to peek inside if you need to.

  1. Pat the steaks dry and rub them with the salt, chipotle powder, and cilantro. Refrigerate the steaks, uncovered, for at least 1 hour, or up to 8 hours.
  2. To make the mustard butter, in a small bowl, mash together the butter with the dry mustard and the Dijon. Form it into two mounds and chill on a plastic wrap–lined plate.
  3. Heat a little oil or clarified butter in a grill pan or cast-iron skillet and cook the steaks over high heat, being sure to get a good sear on each side. For rare steaks, cook 5 to 7 minutes total on both sides, or aller-retour (“to go and return”).
  4. Remove the steaks from the pan and put on plates. Top each steak with a knob of the mustard butter and some pepper and serve with a big pile of frites.

Ingredients

  • 10 tablespoons unsalted butter
  • 1.25 cups packed dark brown sugar
  • 0.75 cup unsweetened cocoa powder
  • 0.25 teaspoon salt
  • 3 tablespoons espresso powder, dissolves in 2 tablespoons hot water
  • 0.5 teaspoon vanilla extract
  • 2 large eggs, cold
  • 0.5 cup rye flour
  • 0.66 cup cacao nibs, depending on your preference

Among many baking superpowers, Alice Medrich can claim seeing into the brownie’s soul. Her thorough, ongoing investigation has yielded numerous recipes, none so famous as her New Classic Chocolate Brownies. The trick to these is to take perfectly undercooked brownies out of the oven and place the aluminum pan in an ice bath to stop them from cooking a second longer. But cast iron isn’t made for bathing. Plus, it holds more heat, and it holds it longer than an aluminum pan; once you pull it out of the oven, your batter is going to continue to cook, and at a higher temperature. To avoid depressingly dry, stiff, sad blocks, you need to calibrate baking time and wetness accordingly.

I keep the skillet in the oven for the least possible amount of time required to yield actual brownies as opposed to hot, soupy batter. If you’re struggling with the question of whether or not it’s ready and wondering if just maybe you should put the skillet back in for a minute or two, you’ve nailed it. Stop, walk away from the pan, and leave your brownies to cool. When they do, they’ll be perfect.

Note: These fudgy brownies are dark, skating dangerously close to bitter. If you’re at all gun-shy about the bitter factor, you can use fewer nibs (1/3 cup, or less), but I like to push it to the maximum, and I appreciate the crunch.

  1. Preheat the oven to 325°F with a 10-inch cast-iron skillet placed on a rack in the lower third of the oven.
  2. In a medium heatproof bowl set over a wide pan of gently simmering water (or using a double boiler), melt 10 tablespoons of the butter. Add the brown sugar, cocoa powder, and salt and cook, stirring from time to time, for about 7 minutes, until the mixture is smooth and almost hot enough to scald your finger. Remove the bowl from the heat. Let the mixture cool from hot to warm.
  3. Add the espresso solution to the chocolate mixture and whisk to combine. Stir in the vanilla, then add the eggs one by one, whisking each one vigorously into the batter to aerate it before adding the next. Once the mixture is thoroughly blended, thick, and glossy, add the flour and stir until it completely disappears into the batter. Switch to a rubber spatula or wooden spoon and aggressively beat the batter for up to 60 strokes. Stir the cocoa nibs in, using more or less according to your preference and making sure they’re evenly distributed.
  4. Remove the hot skillet from the oven and place the remaining 1 teaspoon butter in it. As it melts, brush the butter over the bottom and sides of the pan to coat. Pour the batter into the skillet and bake for about 20 minutes, until the edges of the brownie have begun to pull away from the pan and a cake tester inserted into the center comes out wet with the sludge of batter. The interior should be gooey and almost seem underdone, the surface dry and shiny.
  5. Let the brownies cool completely in the skillet, then cut them into wedges and serve them out of the pan.

Nicole Sprinkle

Nicole Sprinkle is the Restaurant Critic for Seattle Weekly and contributes to blogs at The Huffington Post, The New York Times, and other websites and publications. Look for her forthcoming story in Cherry Bombe magazine.