Is it really possible to turn a legendary smoked whole hog into a recipe that home cooks—not just experienced pitmasters—can make at home?
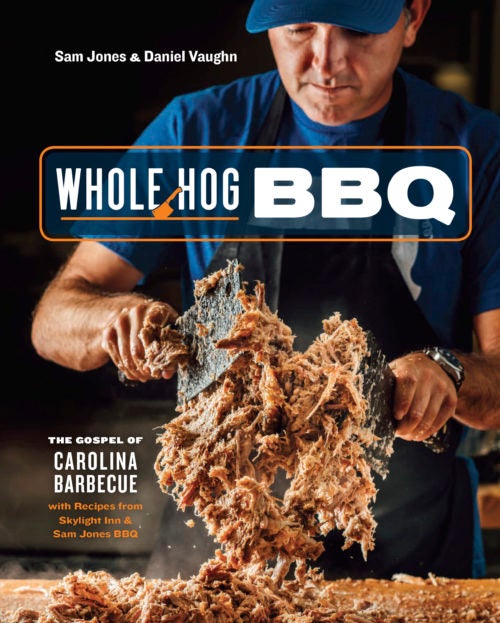
Sam Jones has been cooking whole hogs over wood coals for most of his life. His family’s barbecue joint, Skylight Inn, has been serving the small community of Ayden, North Carolina, since 1947, and his own place, Sam Jones BBQ, just up the road in Winterville, is in its fourth year. He’s become a sort of evangelist across the country for the extreme joy of Eastern North Carolina barbecue—a style using wood-cooked whole hog laced with a red- and black-pepper-spiked vinegar sauce.
The man could cook a hog pretty much anywhere you air-dropped him, as long as he had a stack of concrete blocks, a burn barrel, a pile of wood, and a shovel on hand. He has gone through the 16-hour process thousands of times—from Ocala, Florida, to rural Sweden. So when we were working together on his new book, Whole Hog BBQ, testing recipes seemed redundant. That is, until Sam and I decided to cook a pig together at my home in Dallas, Texas, to coincide with my 40th birthday party.
Cookbook authors often use third-party testers to follow the recipes to the T—to make sure the proper finished product can be achieved with the instructions provided. The task is easy for recipes like banana pudding and cole slaw, but it’s harder to find someone who will agree to test out a whole hog. So we decided to do it ourselves.
In the days leading up to the event—a fete for just under 100 people—I built a pit made of concrete blocks in my backyard, mostly winging the design from what I had seen Sam do back in North Carolina. When Sam arrived, I nervously lead the visiting barbecue dignitary to the pit for an inspection. “This isn’t right,” he muttered, and immediately began reconfiguring the walls of the pit. Once we had the proper shape, I knew the rebar I’d cut to hold the hog inside the pit was too short. Then he glanced at my aging wood pile that was to serve a fuel in the burn barrel. “That wood’s rotten,” he told me. I’d either have to live with one less tree in the yard, or quickly find a source for some split hardwood. It was time to go shopping.

The diagram that made it into the book after real-life trial and error
Sam happens to be the fire chief in his hometown of Ayden, and he has a Super Duty pickup all decked out with lights and sirens. It’s a truck built for hauling wood and rebar, but in Dallas, all I had to offer was my wife’s Pathfinder. The new rebar was the first challenge. The gauge we required only came in lengths of 10 feet, and the folks at the store wouldn’t cut it. (I guess I needed that new reciprocating saw anyway.)
We unpackaged the saw and blades in the parking lot of Lowe’s and found the closest outlet mounted on the side of the building. It was dead, and so was the next one. A nice woman selling elotes had a power strip on the ground next to her cart. We asked permission, then plugged the saw in. There we were, 10-foot sections of rebar balanced on the edge of a shopping cart, cutting through metal with a brand-new saw right beside the store’s front doors. There were onlookers.
Then we began the search for wood. A place advertising firewood sold split oak by the quarter cord for a price high enough to make Sam double over with laughter. We stacked it as tight as we could in the back and prayed the automatic door would shut. My wife now knows her SUV can carry a half cord of wood and is reminded of that fact every time another wood chip magically appears months later.
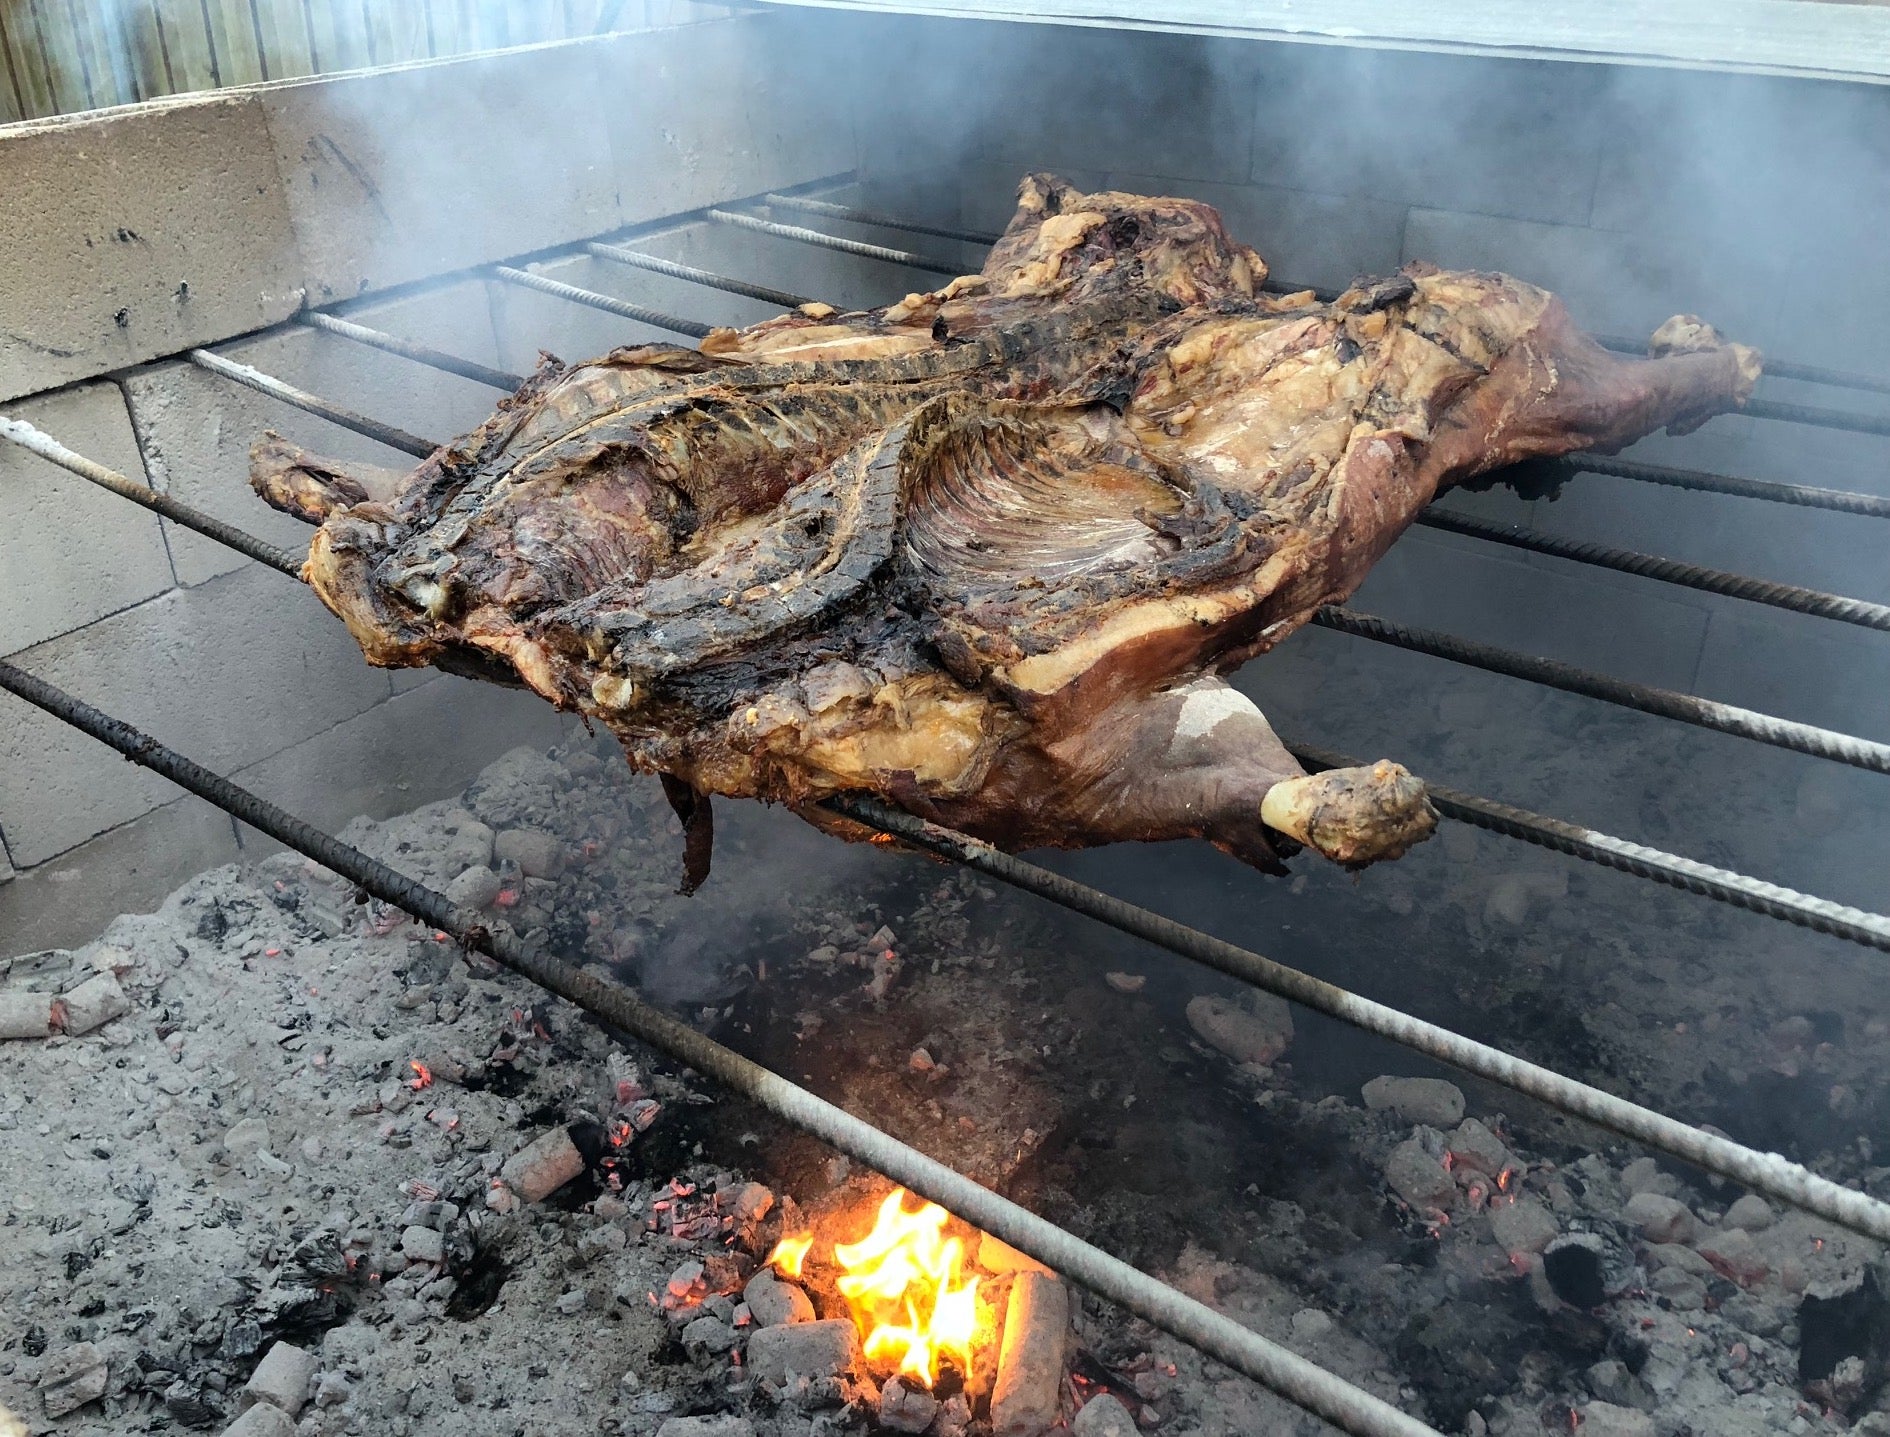
Sam peeks into the pit to check on progress.
There was just one problem with the wood: It was still green. That means it was freshly cut and still held lots of moisture. Basically, green wood doesn’t burn very well, which isn’t great when you’re trying to make coals for cooking a hog. We grabbed a few bags of charcoal on the way home to speed up the amount of hot coals we’d have to work with. Sam refers to them as “a bag of cheat” because they represent a shortcut for whole hog cooking, but a bit of cheating is preferred to an undercooked pig.
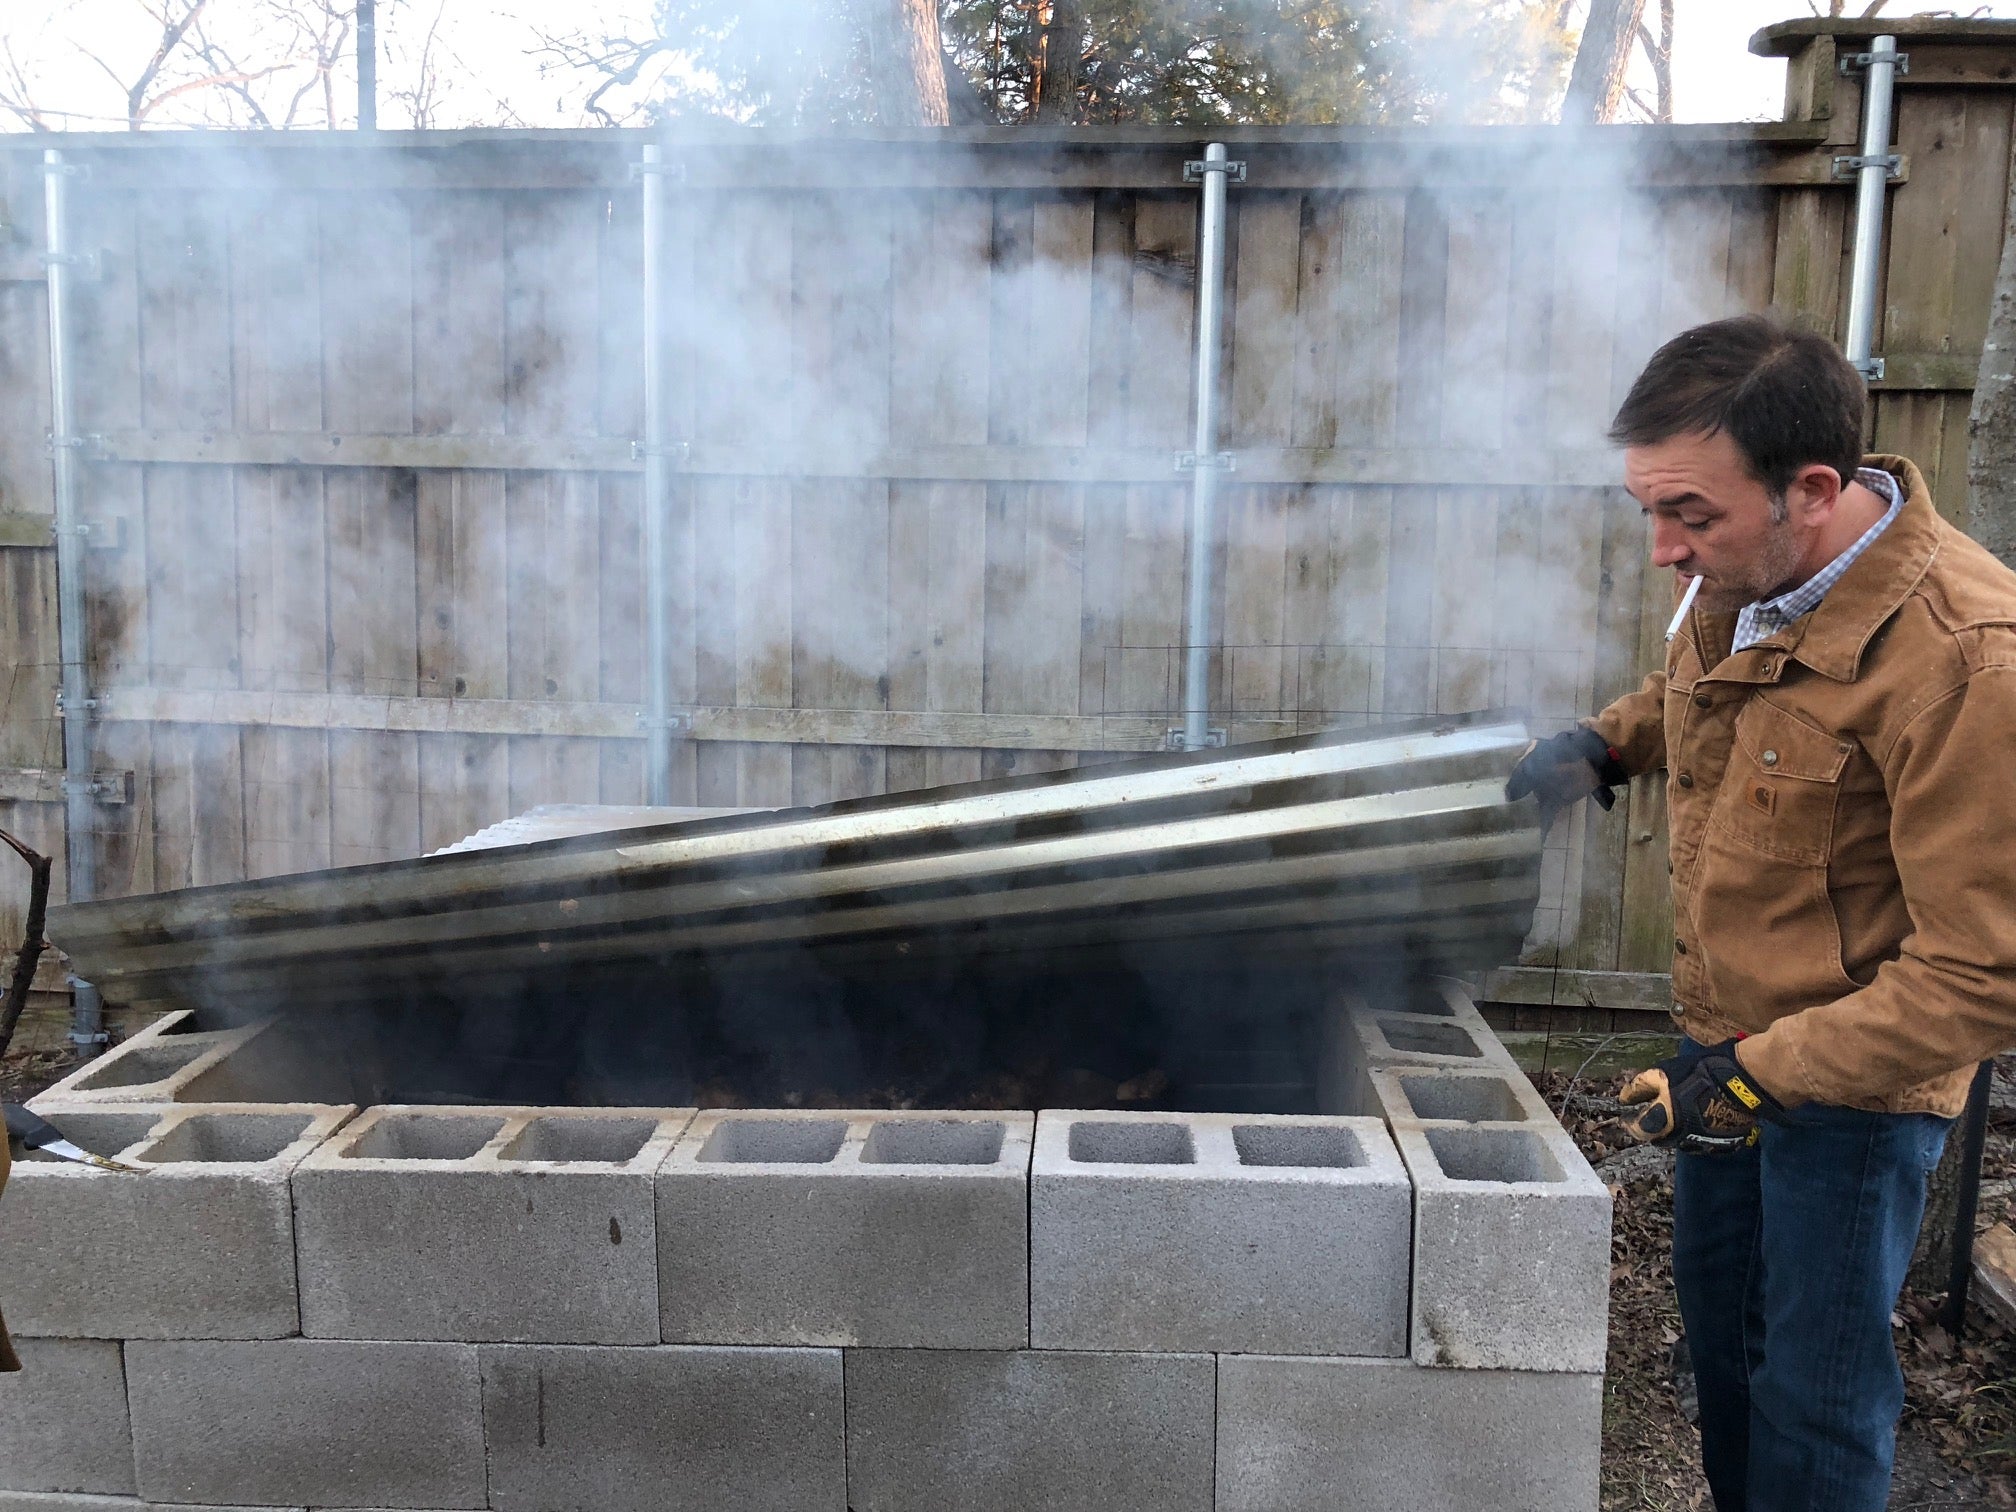
To produce the wood coals, a burn barrel is needed. It requires a 55-gallon drum that’s been customized for the task. The sides are punctured by a layer of crisscrossed rebar about a third of the way up to support burning logs, but still allow the hot coals to fall and be fetched by a shovel from an opening at the bottom. I had an empty 55-gallon drum, but without any of the necessary modifications. Sam has grown accustomed to having a restaurant staff and professional pitmaster equipment at his disposal to perform such tasks, but on this night he straddled that drum like a pony to keep it from rolling down my driveway. It’s hard to describe how ear-piercingly loud the sound of metal blade is on a steel drum in an otherwise quiet residential neighborhood at 11:00 on a weeknight.
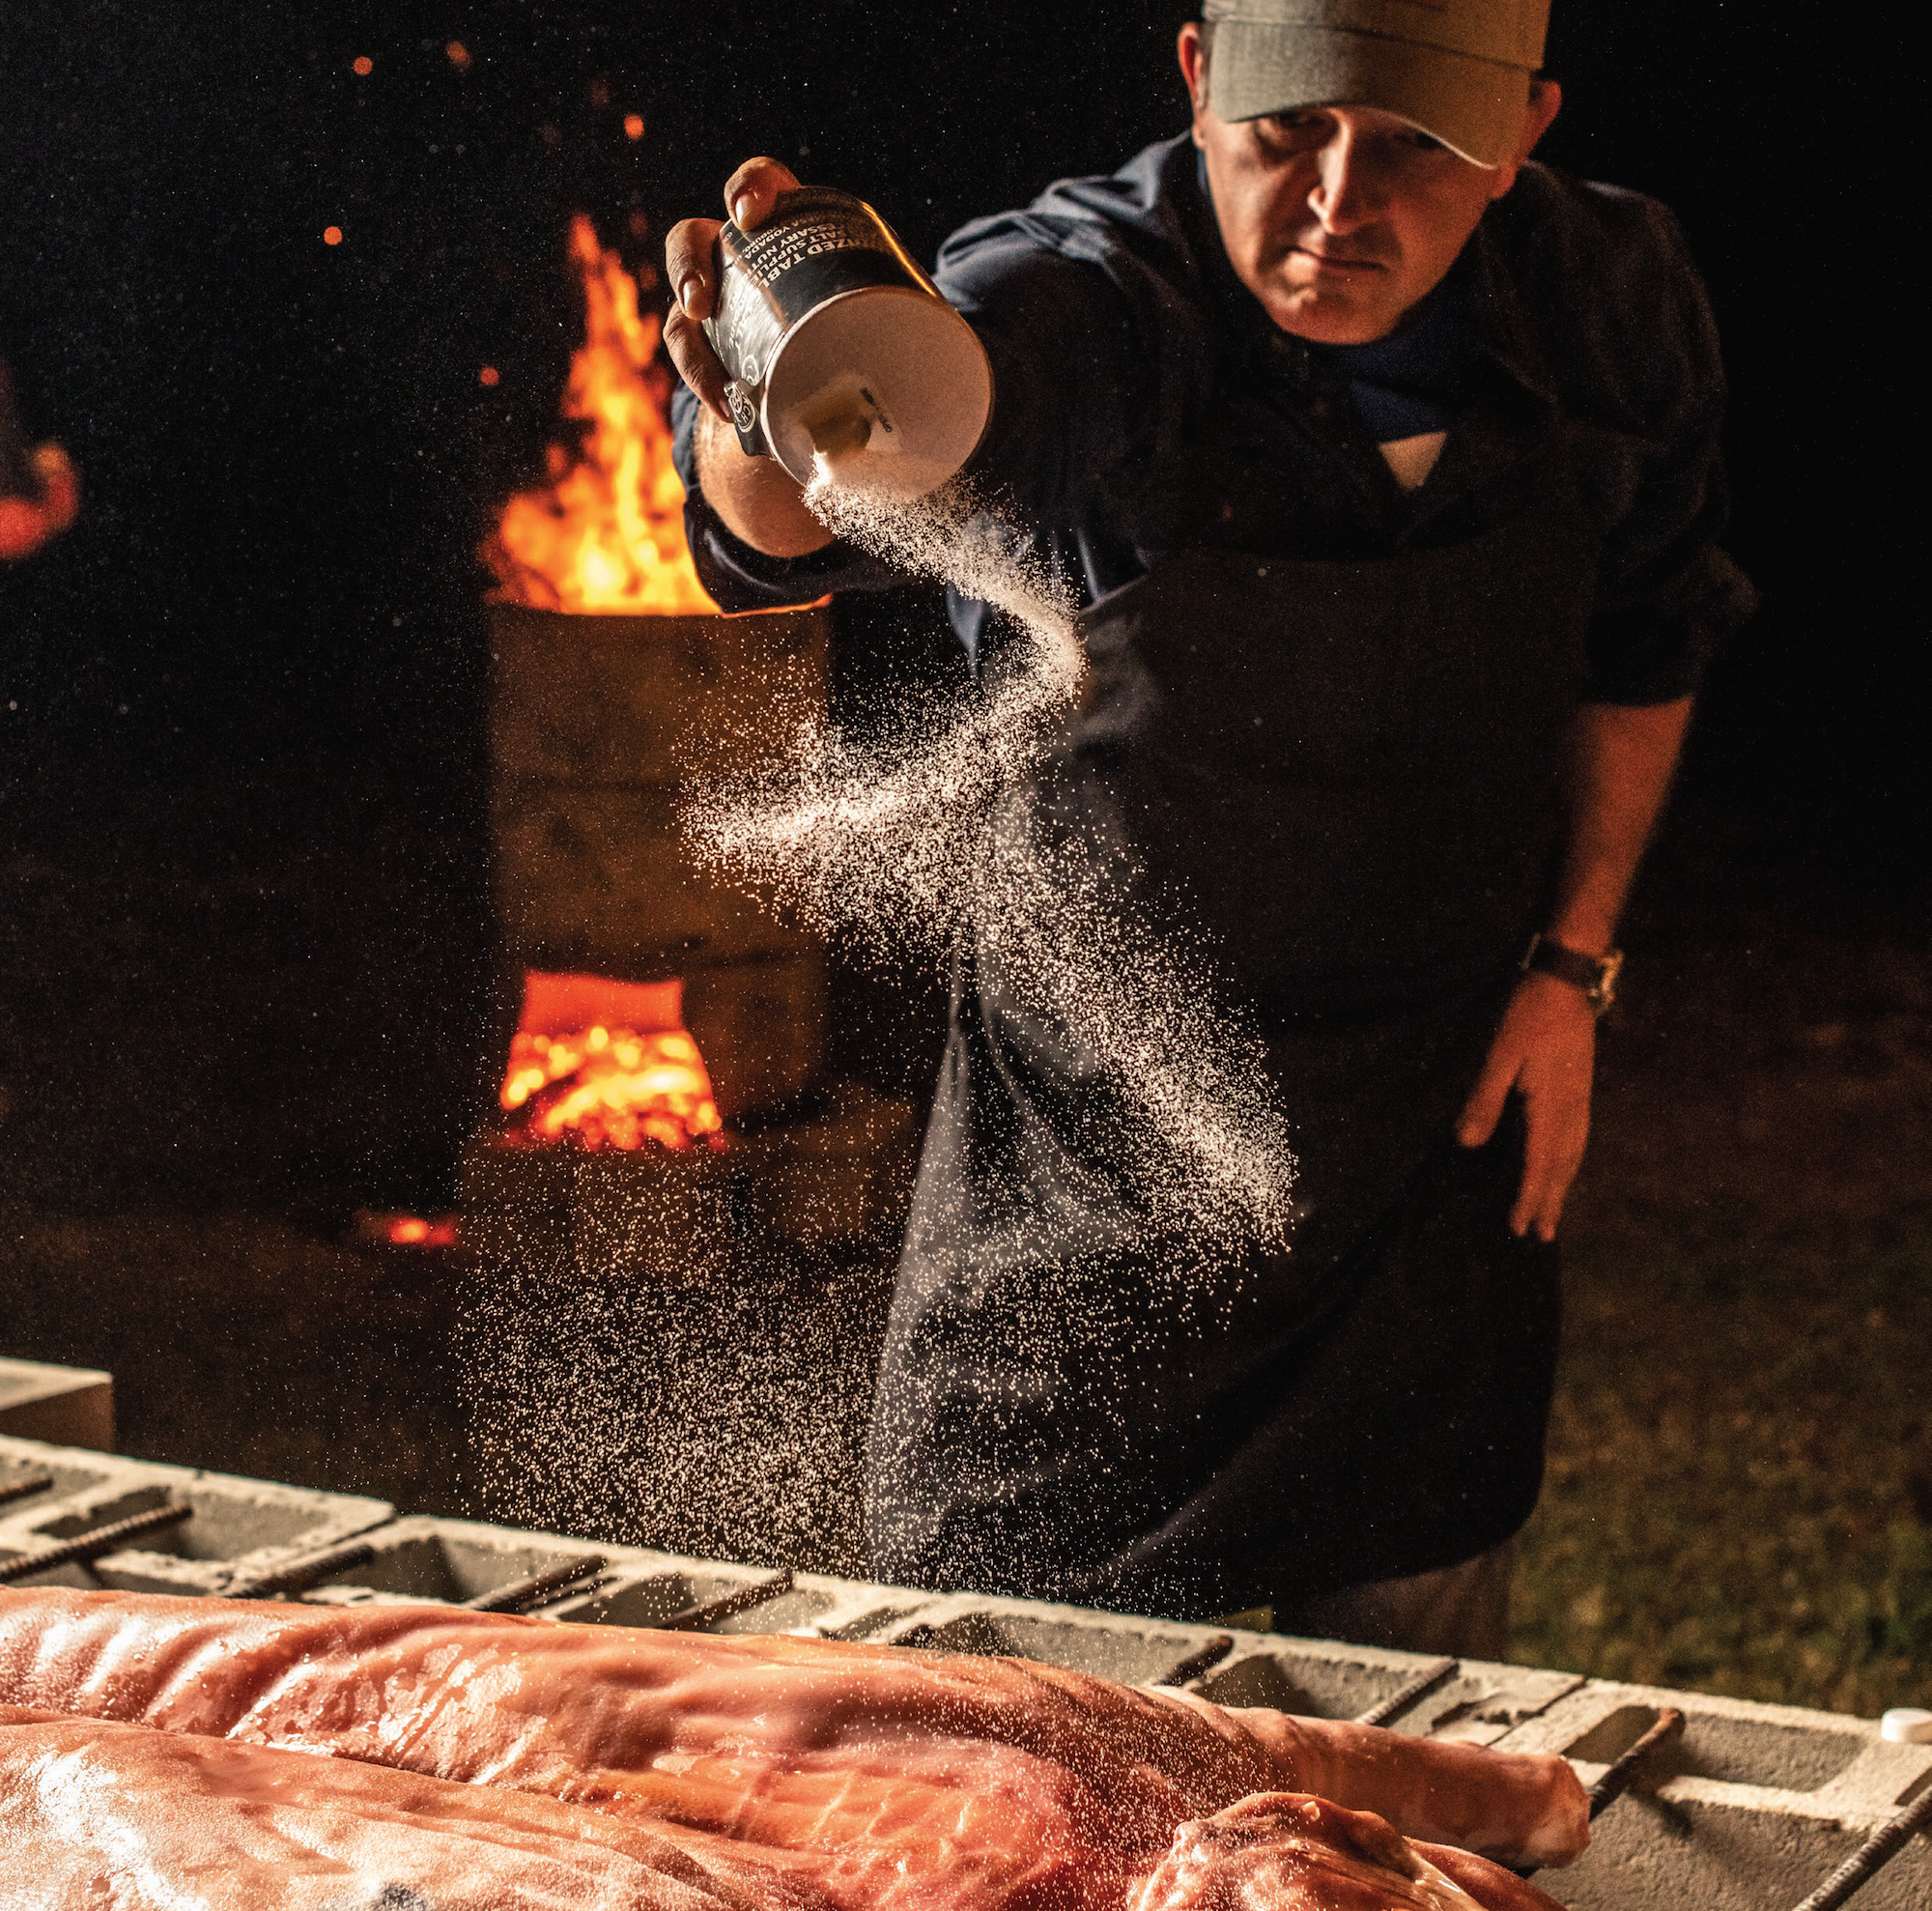
One thing that makes a Sam Jones whole hog special is the crispy skin that gets chopped into the pork when it’s all done. To get that skin adequately dried out requires lots—about a full pound—of table salt. I had none and thought for sure the big box of kosher salt would be a fine replacement. Sam had his doubts, and they were warranted. There was something about the size of the crystals that meant they didn’t dissolve onto the skin as readily during the cook, and we struggled to crisp it up. That’s why the recipe in the book warns against using anything but table salt. Sam still relishes that I-told-you-so moment.
A few friends helped on the overnight shift as we cooked the hog, shoveling coals into the pit every 45 minutes or so and adding fresh wood to the burn barrel. We finished up the following day, and Sam chopped the meat in front of hungry guests who could hardly believe they got to eat his famous barbecue from a table in my garage. They barely noticed the difference between this pig and one they might eat at Skylight, but Sam and I knew and had taken some detailed notes. The party became the ultimate test for the most important recipe in the book.
Now, thanks to my wife who didn’t make me tear it down, that block pit is a permanent fixture in the backyard, and the burn barrel fits neatly under the lid. With a few containers of regular old table salt in the cabinet, no need to haul more rebar, and a recipe that really works, I feel more prepared than ever for my next whole hog party.
First two photos by Denny Culbert. Other photos by Daniel Vaughn.