Making the Loaf Fancy Again
Loaf pans have been relegated to everyday, functional baking. But there was a time when the shape was worthy of a party centerpiece.
Usually when I make something loaf-shaped, it’s out of a sense of pragmatism. I want the edible object to fit compactly in my refrigerator, or to be tidily transportable in a literary tote bag of some kind. My loaf pan tends to come out only for cooking or baking projects of a utilitarian or mildly austere nature—Icelandic rye bread or yogurt “breakfast cake.”
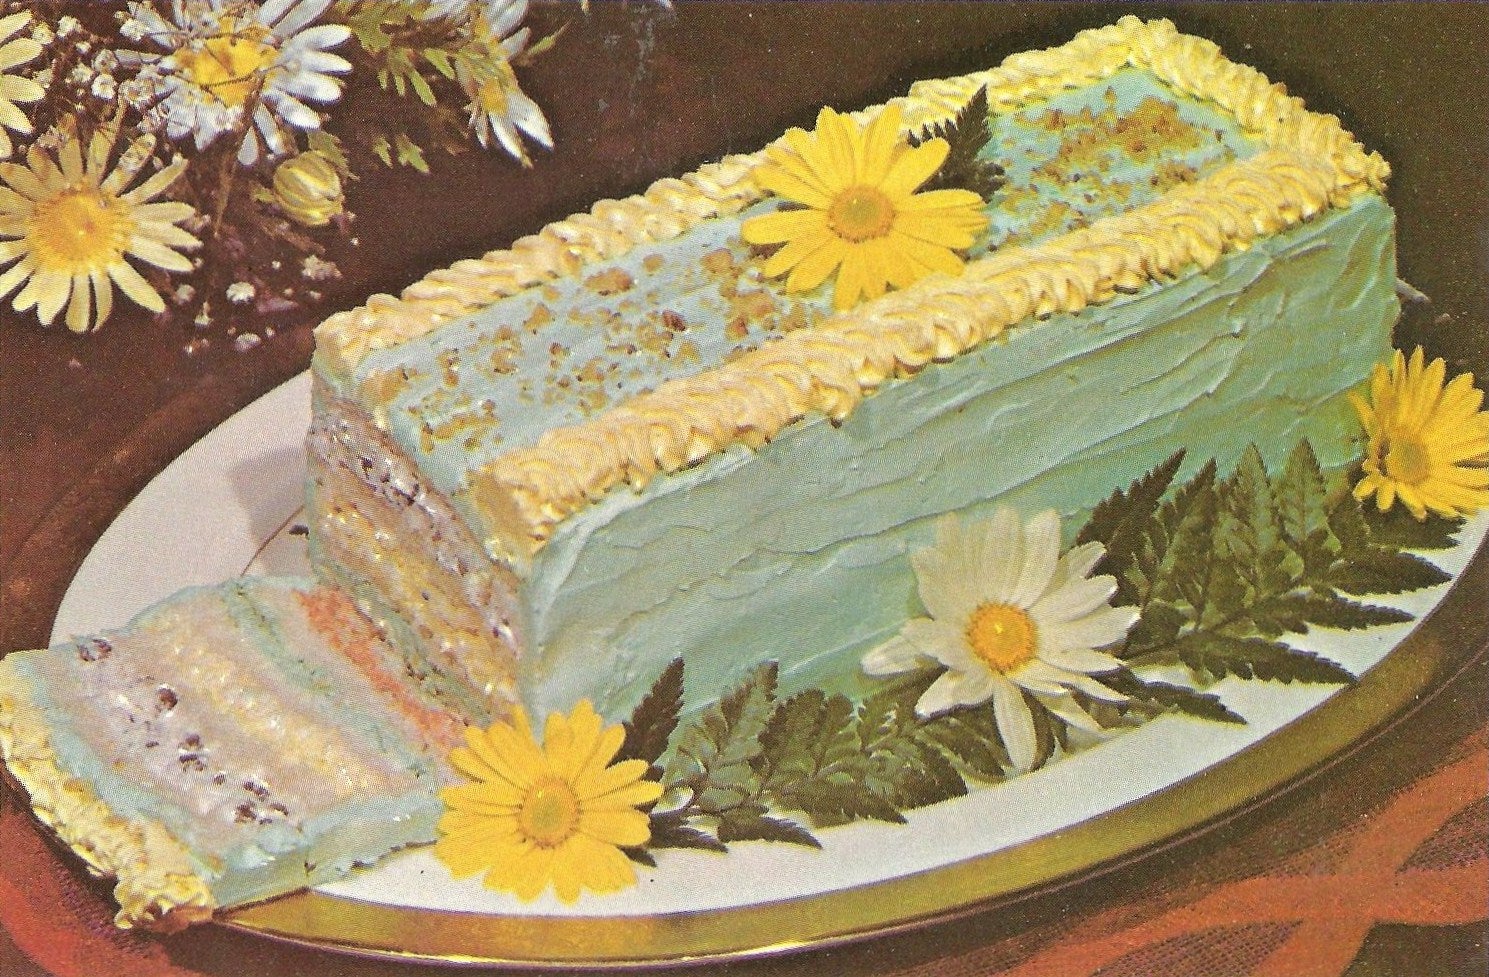
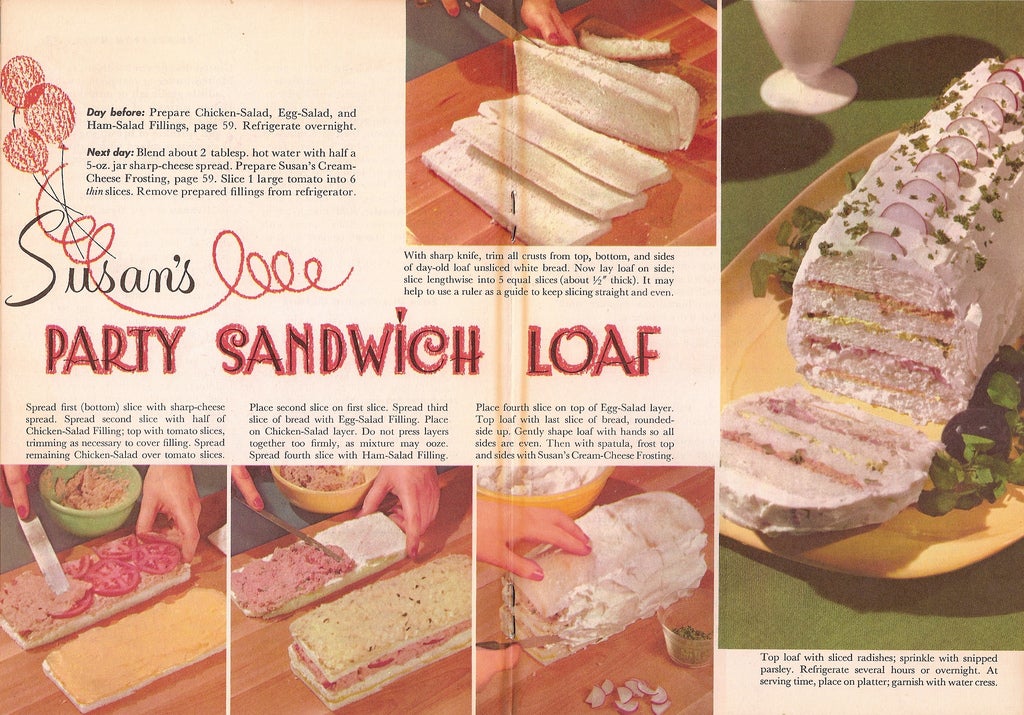
But there was once a golden age (namely, the 1950s and 1960s) when the loaf was the fanciest shape a food could take. Beef tenderloin had nothing on a shining ketchup-lacquered meatloaf, nestled among boiled peas and pearl onions, and round platters of shrimp cocktail bowed down to gelatinized bricks of shrimp mousse. Loaves of Wonder Bread were sliced lengthwise and layered with ham salad and cream cheese to create what was referred to by a whole generation as a party loaf.
When Jessie Sheehan wrote her new cookbook, The Vintage Baker, she immersed herself in dessert recipes from the 1920s through the 1960s, from chocolate malt puddings to raspberry-marshmallow upside-down cake. When she dipped into a 1951 book called 250 Refrigerator Desserts, she found the apotheosis of celebration loaves: a party-size, rectangular baked Alaska sandwich.
The recipe is essentially a giant ice cream sandwich formed in a loaf pan. When you’re ready to party, you pull it out, add a few swoops of meringue, and toast the outer layer in a broiler or with a buzzing kitchen torch. It might not be formed into the iconic beehive shape, but as Sheehan says, “It’s still pretty awesome looking.” And maybe more importantly, making it in a loaf pan gives it a sort of approachable, no-nonsense appeal.
Typically, baked Alaska is made by molding a layer or two of cake with softened ice cream in a mixing bowl. You freeze this together and unmold it, and it becomes a hemisphere onto which swirls of meringue are placed. Since the whole operation is a fine balancing act of toasting meringue while keeping the ice cream frozen inside, the dessert has always seemed like a bit of a dinner-party white whale to me. But when I saw this 1950s-inspired loaf version in Sheehan’s book, the idea suddenly became more feasible, and I found myself adding a $10 kitchen torch to my Amazon cart.
“In all truthfulness, I don’t think it’s actually very hard to make a baked Alaska in a bowl if you’re following the directions to get that globe shape,” Sheehan admits. “It’s probably a lot easier than people think. But making it in a loaf pan? It’s pure, utter genius if you ask me.”
Ingredients
- Cake
- ¾ cups plus 2 tbsp all-purpose flour
- 6 tablespoons Dutch process cocoa powder
- ½ cups packed dark brown sugar
- ½ cups granulated sugar
- ½ teaspoons baking soda
- ¾ teaspoons baking powder, rounded
- ½ teaspoons table salt
- 2 egg yolks
- 1 ½ teaspoons pure vanilla extract
- ¼ cups vegetable oil
- ½ cups buttermilk, at room temperature
- ½ cups boiling water
- 1 ½ teaspoons espresso powder
- 3 pints ice cream, such as strawberry, chocolate, and vanilla
- Meringue
- 6 egg whites, at room temperature
- 1 cup granulated sugar
In The Vintage Baker, Jessie Sheehan shares recipes inspired by iconic desserts from the 1920s to 1960s. Photo by Alice Gao.
Visually, a Baked Alaska is spectacular. Ice cream is packed into a cake-lined bowl, inverted onto a serving platter, and covered in toasted, billowy meringue. It’s actually super easy to make and guests go bonkers for it. The Easy Baked Alaska from Good Housekeeping’s Cake Book (1958) and the Baked Alaska Sandwich from 250 Refrigerator Desserts (1951) inspired this version. I added an additional layer of cake, a variety of ice cream flavors (which looks so pretty when sliced), and was extremely generous with my meringue topping (meringue might be one of my favorite food groups). Though not technically a “sandwich,” it’s put together in a bread pan, making assembly and slicing the finished cake easy-peasy.
- Preheat the oven to 350°F. Grease a 13-by- 9-by-2-in pan with nonstick cooking spray or softened butter, line with parchment paper, and grease again. Line a 9-by-5-by-3-in loaf pan with a piece of plastic wrap that hangs slightly over all four sides.
- For the cake In the bowl of a stand mixer fitted with the paddle attachment, combine the flour, cocoa powder, brown sugar, granulated sugar, baking soda, baking powder, and salt on low speed until well incorporated. In a bowl, whisk together the yolks, vanilla, oil, and buttermilk until combined. With the stand mixer on medium-low speed, slowly pour the wet mixture into the dry ingredients and beat until incorporated. Scrape down the bowl with a rubber spatula as needed. In the same bowl, combine the boiling water and espresso powder, add it to the batter in the mixer bowl, and mix for 30 seconds on low speed until smooth. Pour the batter into the larger, parchment paper– lined pan and bake for 14 to 16 minutes, rotating at the halfway point. The cake is ready when a toothpick inserted in the middle comes out with a moist crumb or two. Let cool completely and freeze for 30 minutes or up to 3 days, tightly wrapped.
- Place the strawberry ice cream in the microwave on high power for 20 seconds, or soften it on the counter until it scoops easily but isn’t melted. Place the ice cream on the bottom of the prepared loaf pan. Drape a piece of plastic wrap over the ice cream and use your hands to press it down into a flat, even layer. Cut the cake into three 4-in- wide pieces. Place 1 piece of the cake over the strawberry ice cream and press down. Return the other 2 pieces to the freezer.
- Soften the chocolate ice cream as you did the strawberry. Using plastic wrap and your hands, spread it into an even flat layer over the cake. Place another piece of the cake over the chocolate ice cream and press down. Repeat with the vanilla ice cream and the last piece of cake. The last piece will be above the edge of the pan.
- Freeze until hard, at least 4 hours, preferably overnight, tightly wrapped in plastic wrap.
Meringue
- Whisk the egg whites in the bowl of a stand mixer on medium-high speed until foamy. Slowly add the granulated sugar, 1 tablespoon at a time, and whisk on high speed until stiff, glossy peaks form, at least 5 minutes.
- Remove the loaf pan from the freezer and lift out the cake using the plastic sling. Dip the bottom of the pan briefly in hot water if it has trouble releasing. Invert the cake onto a heatproof serving platter (the bottom layer is now the top) and generously cover the cake in meringue using an offset spatula or butter knife. Using a kitchen torch, if you have one, gently brown the meringue, or place the cake under the broiler for 1 or 2 minutes, watching closely to make sure it does not burn.
- Slice the cake with a long serrated knife and serve immediately. It is best the day it is made, but will keep in the freezer, lightly wrapped in plastic wrap, for up to 3 days.
