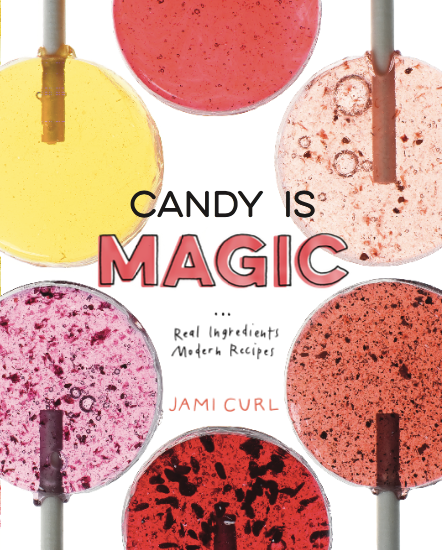
Candy is Magic, by Jami Curl, reveals that the real magic lies in natural ingredients with recipes you can make in your own kitchen.
I’m apple-obsessed, and I’m fortunate to know a very skilled apple farmer named Susan Christopherson. Susan lives on a beautiful piece of land in Ridgefield, Washington. The property is dotted with rare and heirloom apple trees—trees with which Susan is so familiar that a walk through the orchard is not unlike flipping through the pages of her family photo album. For me, an afternoon spent at the farm is the perfect getaway. Something about the trees and the sky and Susan herself, I forget about every trouble and doubt, and I find myself feeling completely inspired. (Of course, Susan is a great listener, usually has an apple pie on her kitchen counter, and is a total pro at having a pot of coffee at the ready. These three things definitely add to the “getaway” spirit.)
The key to this recipe is the use of a good-quality apple butter. Homemade is great, but if you use store-bought, the ingredient list on the jar should mention only apples and apple cider. Before you begin the recipe, take a few minutes to remove any extra water content from the apple butter, whether it’s homemade or store-bought, by scooping it into a small saucepan and warming it over medium heat until you see steam. Keep the apple butter moving (stir it) so it doesn’t scorch and allow it to steam for 5 minutes. Remove it from the heat and proceed with the recipe.
160 caramels
- Set up a 12 by 14–inch candy frame or lightly butter a 9 by 13–inch pan.
- Weigh the glucose syrup directly into a heavy-bottomed pot, then set the pot over medium-high heat. Allow the glucose to warm until it liquefies and then starts to bubble. Once the glucose has bubbled a bit in one spot, swirl the pot to distribute the heat.
- Add the sugar, about one-third at a time, sprinkling it over the glucose syrup. Using a high-heat spatula or wooden spoon, poke (no stirring) the sugar down into the syrup after each addition. Keep watch to make sure no giant lumps of dry sugar remain before you add the next installment of sugar. If you see lumps, poke them down into the glucose. Once all of the sugar is added and has been poked down into the liquid so it’s wet, stop poking.
- Pour the cream into a small saucepan and add the salt, vanilla bean powder, cinnamon, nutmeg, vanilla extract, and apple butter. Stir to mix, then set the pan over low to medium heat. You’re not looking to boil the cream; the idea is to simply warm the ingredients so they’re not cold when they go into the hot sugar.
- Meanwhile, let the glucose and sugar cook, swirling the pot occasionally, until the mixture is dark amber, or the color of a copper penny (see the Caramel Color Chart). Time-wise, you’re looking at 13 to 15 minutes for the caramel to reach the target color. At first the sugar will turn pale brown, then darker brown. This may happen in spots around the pot, so it’s important to swirl the pot as the sugar cooks. Once the sugar is a uniform color, cook it for a second or two longer until you feel good about the color, remembering that you want it to match that dark amber target.
- Remove the pot from the heat and very carefully add the warmed cream mixture, immediately followed by the butter. Whisk the candy for 5 minutes, until completely emulsified. This means that the fats have been completely mixed into the sugar with no chance of separating. The mixture will be homogenized, with no oily separation or bits of anything burnt floating around.
- Pour the caramel into the prepared candy frame or pan, nudging it into the corners as needed. Allow the candy to sit until cooled and set, at least 3 hours or preferably up to overnight, before cutting.
Reprinted with permission from Candy is Magic, copyright © 2017 by Jami Curl, published by Ten Speed Press, an imprint of Penguin Random House LLC.