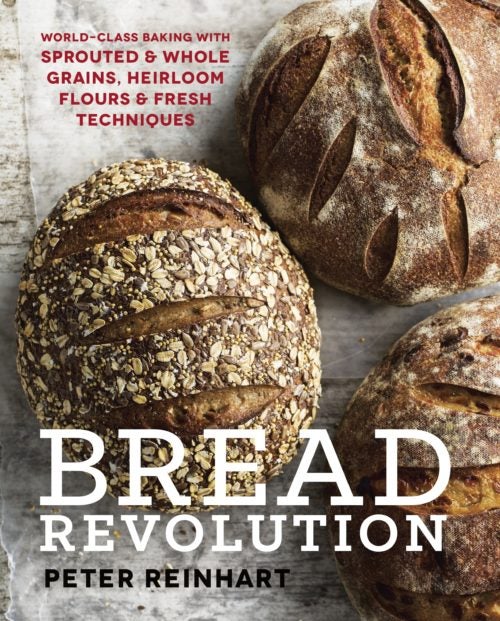


Peter Reinhart explores the rich world of bread baking in Bread Revolution.
Sandwich rye breads generally contain far less rye flour than wheat flour, mainly because the gluten content of rye is only about half that of wheat. In many commercial rye breads, the dough is reinforced with vital wheat gluten to ensure a tall, airy loaf. Another characteristic of sandwich rye bread is that sourdough starter is often used in addition to commercial yeast. It isn’t the primary leavening, but it does provide some acidity and flavor and also helps control enzyme activity. Therefore, this recipe doesn’t require building a final starter; rather, you can simply use a freshly rebuilt mother starter.
Sprouted rye flour isn’t as easy to find as sprouted whole wheat flour, so you may need to purchase it online. You can also use regular, non-sprouted rye flour, as long as the primary flour is sprouted wheat. Either way, this is a great bread for grilled cheese sandwiches and, of course, corned beef or pastrami sandwiches.
5 small loaves
- In the bowl of a stand mixer fitted with the paddle attachment, stir together the flours, salt, yeast, and caraway seeds (on low speed if using a stand mixer). In a separate bowl, combine the water, molasses, and mother starter and stir for about 20 seconds to soften the starter. Add the starter mixture to the flour mixture and mix or stir until the flour is hydrated and a coarse, sticky dough forms, about 1 minute.
- Let the dough rest, uncovered, for 5 minutes. Then switch to the dough hook or use a wet spoon or wet hands and mix for 1 to 2 minutes, on medium-low speed if using a stand mixer. The dough should be smooth but still slightly soft and sticky. Add a bit more flour or water if necessary to achieve this texture, but bear in mind that the dough will firm up during the stretch and fold process.
- Spread about 1 teaspoon of vegetable oil or olive oil on a work surface. Using a wet or oiled bowl scraper or rubber spatula, transfer the dough to the oiled area. Lightly oil your hands, then stretch and fold the dough, folding it over itself four times: once each from the top, bottom, and sides. The dough will firm up slightly but still be very soft and somewhat sticky. Cover the dough with the mixing bowl and then, at intervals of 5 minutes or up to 20 minutes, perform three additional sequences of stretching and folding. For each stretch and fold sequence, lightly oil your hands to prevent sticking. The dough will firm up a bit more with each stretch and fold. After the final fold it should be firm and bouncy when slapped, and only slightly tacky.
- Oil a large bowl and put the dough in the bowl. Mist the top of the dough with vegetable spray oil and cover with a lid or plastic wrap; if using plastic wrap, stretch it tightly over the bowl rather than laying it directly on the dough. Ferment the dough at room temperature for 1½ to 2 hours, until double in size. (This time can be shortened by using a warm proof box set at about 90°F.)
- Oil the work surface again. Using an oiled bowl scraper, transfer the dough to the oiled area. For a hearth loaf or 2 freestanding loaves, prepare two bannetons or a couche or line an 18 by 13-inch sheet pan with parchment paper then mist with vegetable spray oil. Shape the dough into one large boule or bâtard, or divide the dough in half and shape each piece into a small boule or bâtard. Put the shaped loaves in the prepared proofing vessel(s) or on the sheet pan. For pan loaves, mist two 4½ by 8-inch loaf pans with vegetable spray oil. Divide the dough in half and shape the pieces into sandwich loaves, then put the shaped loaves in the prepared pans.
- Mist the exposed surface of the dough with vegetable spray oil. Cover loosely with plastic wrap or put the shaped loaves in a large plastic bag. Proof for 1 to 1½ hours at room temperature, until the dough increases in size by 1½ times. If making pan loaves, the dough should dome up above the pan by 1 inch or more.
- To bake 1 or 2 freestanding loaves, about 45 minutes before you plan to bake, prepare the oven for hearth baking with a baking stone and steam pan, then preheat the oven to 450°F. Transfer the dough to a floured peel (or keep it on the sheet pan for baking). Score the top with 3 or 4 parallel cuts, about ½ inch deep, across the top. (Rye bread is typically sliced straight across as opposed to diagonally, but this is really the baker’s choice.) Transfer the dough to the middle shelf of the oven and, if baking hearth bread, pour about 1 cup of hot water into the steam pan. Bake for 5 minutes, then lower the temperature to 425°F. Bake for 20 minutes, then rotate and bake for 15 to 20 minutes longer, until the crust is golden brown and the bread sounds hollow when thumped on the bottom. The internal temperature should be about 195°F. Transfer to a wire rack and let cool for at least 1 hour before slicing and serving.
- To bake pan loaves, preheat the oven to 375°F. Bake for 25 minutes, then rotate and bake for 25 to 35 minutes longer, until the crust is golden brown and the bread sounds hollow when thumped on the bottom. The internal temperature should be about 190°F. Transfer the loaves from the pans to a wire rack and let cool for at least 1 hour for before slicing and serving.
Reprinted with permission from Bread Revolution © 2014 by Peter Reinhart. Published by Ten Speed Press, an imprint of Penguin Random House, LLC

